
Last updated November 4, 2026
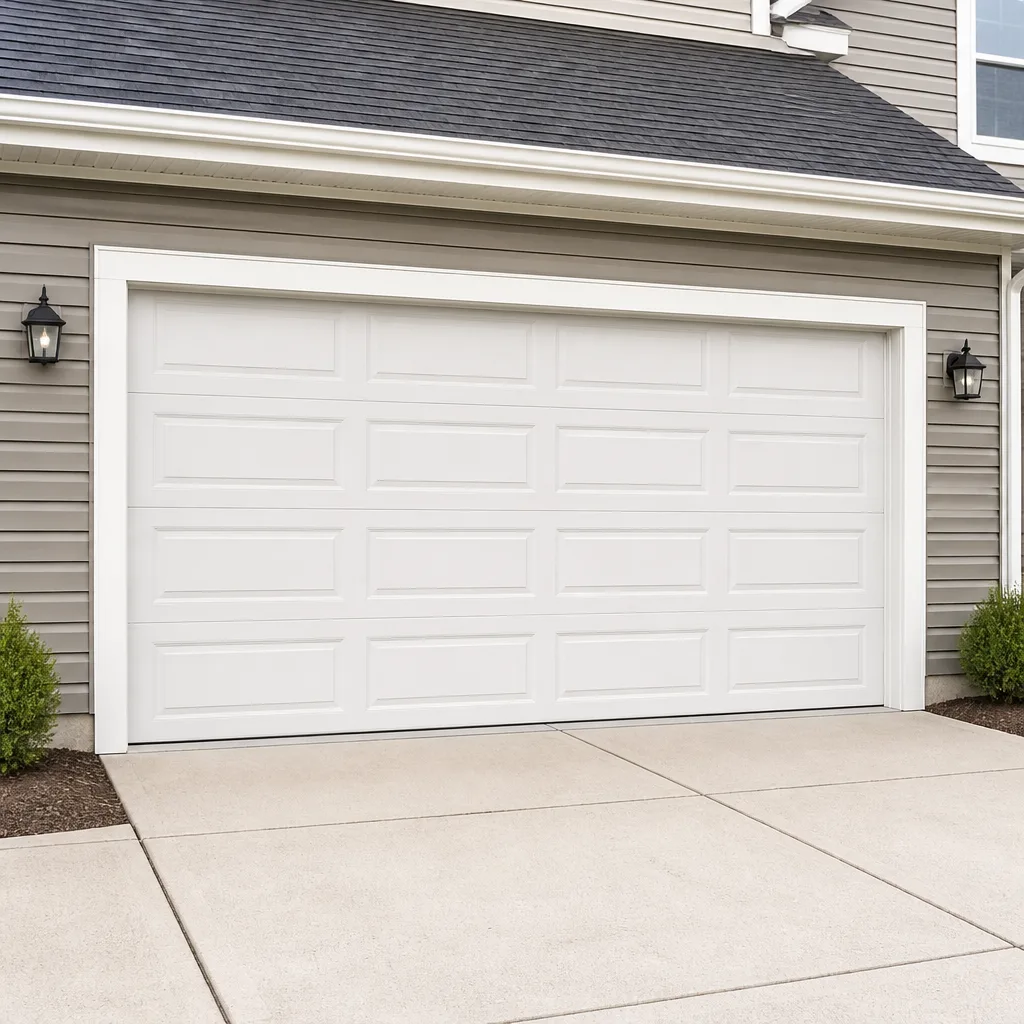 Raised-panel steel
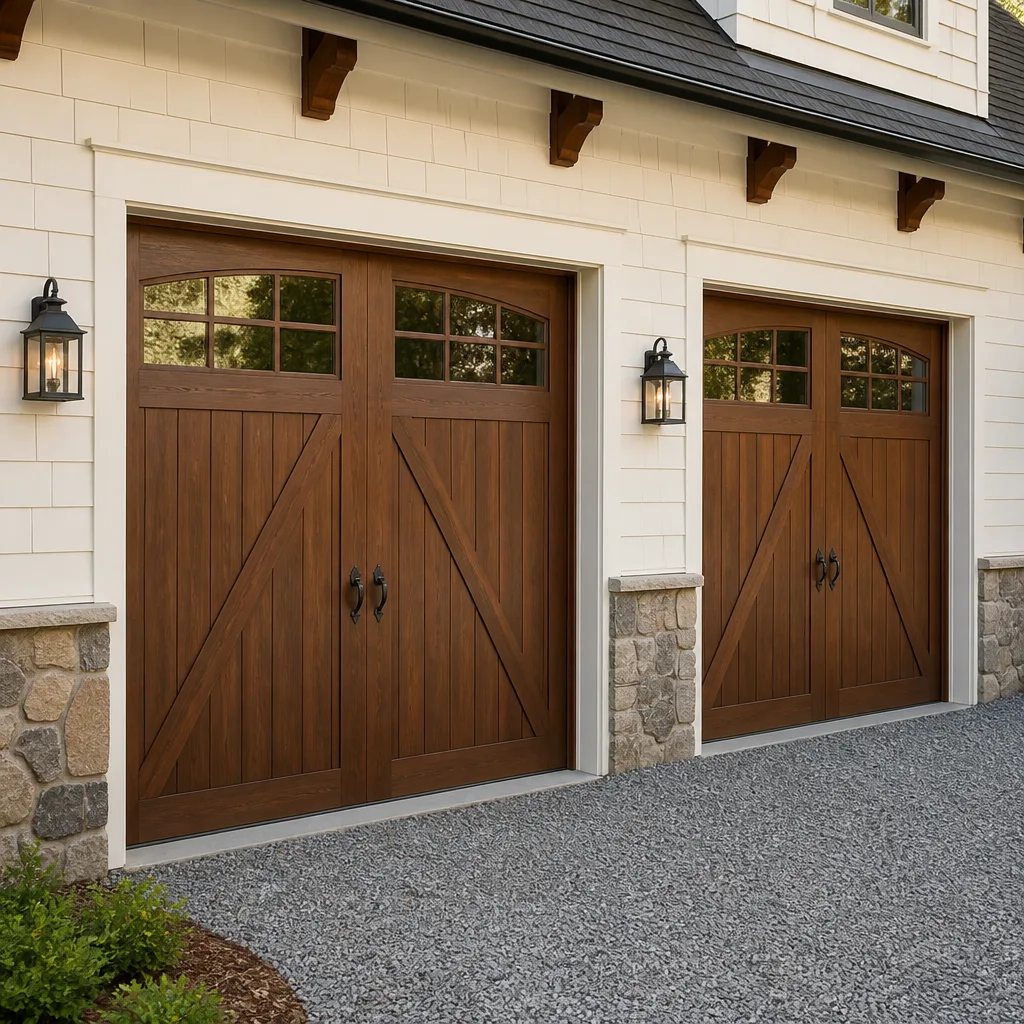 Carriage house
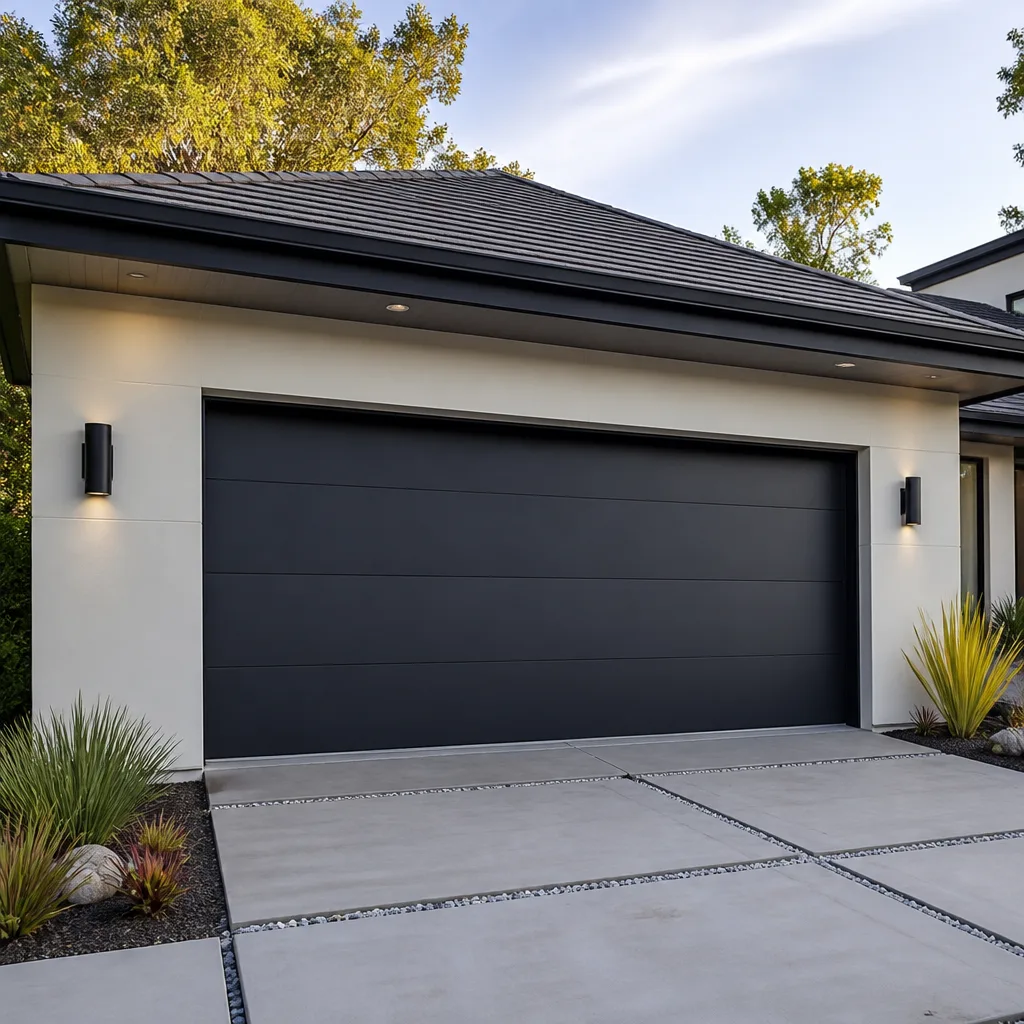 Modern flush
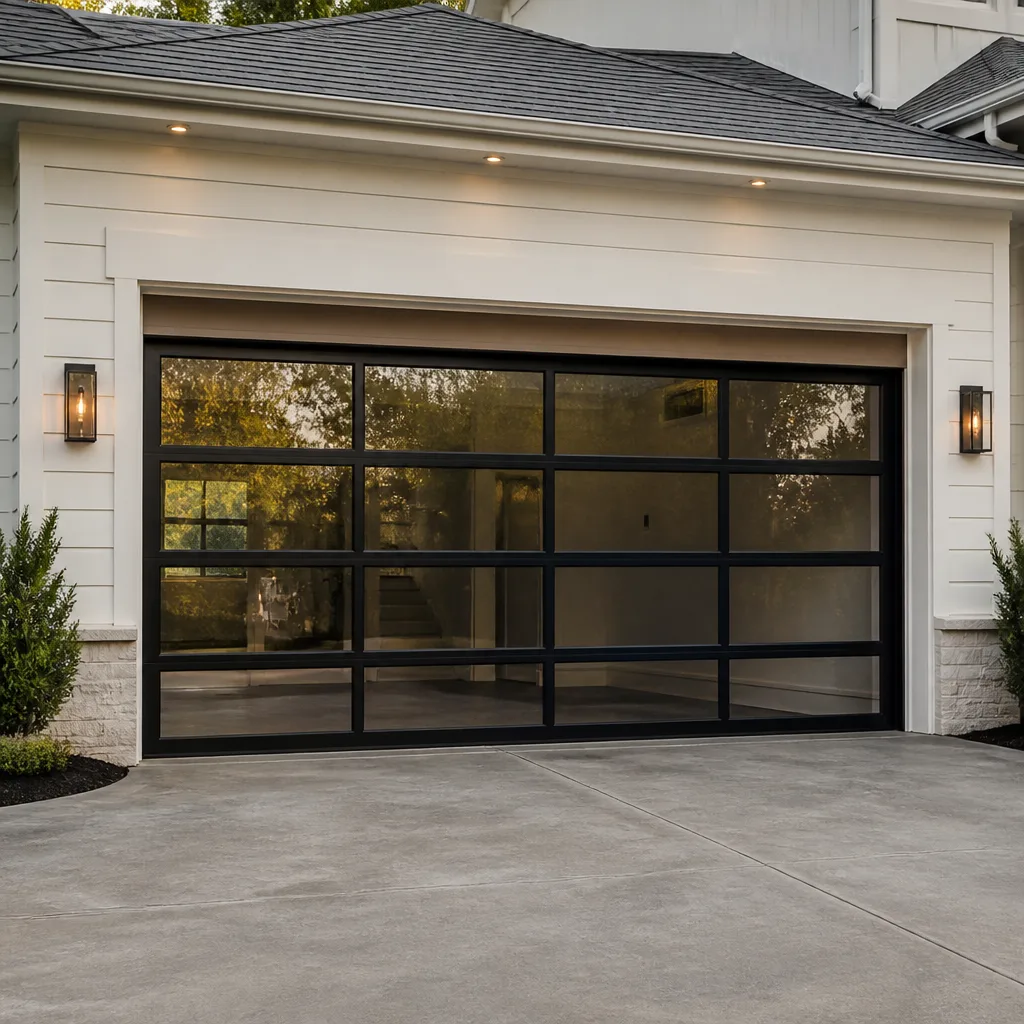 Full-view glass
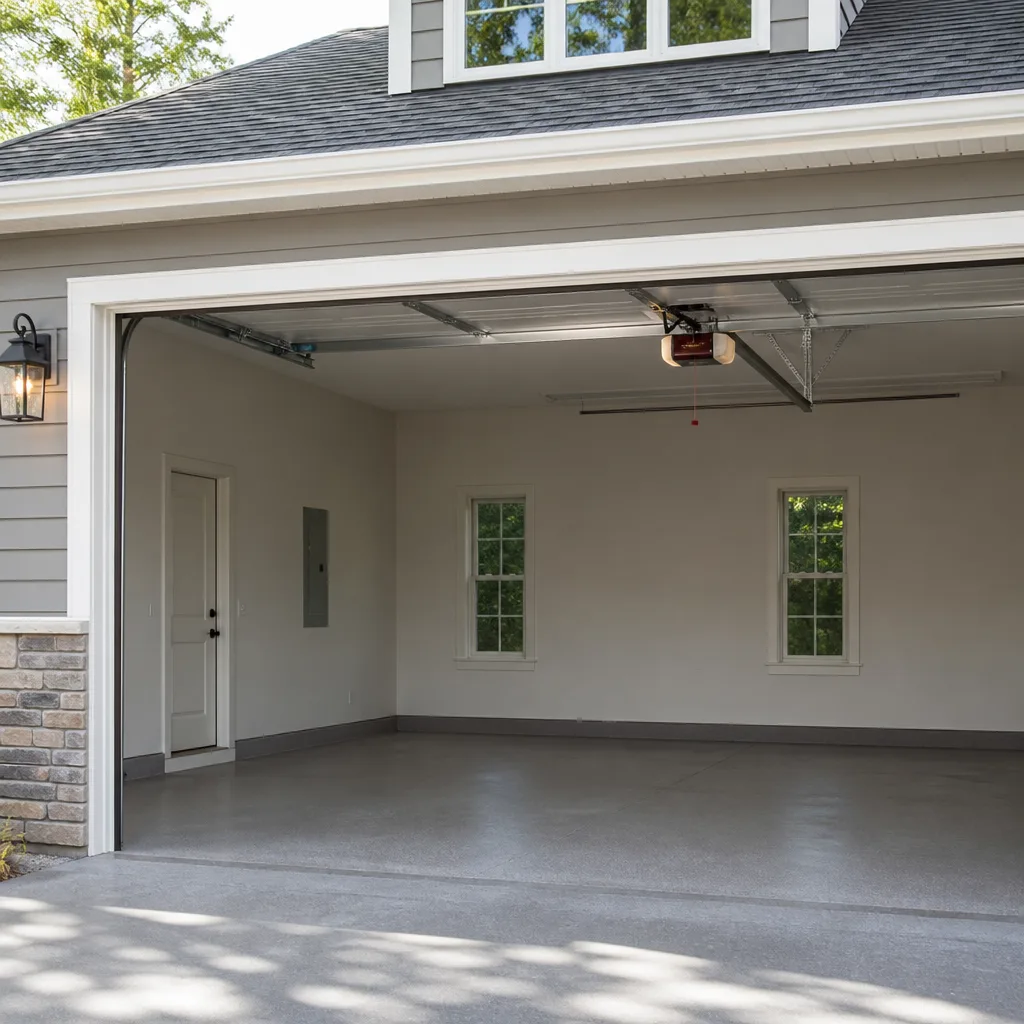 LiftMaster openers
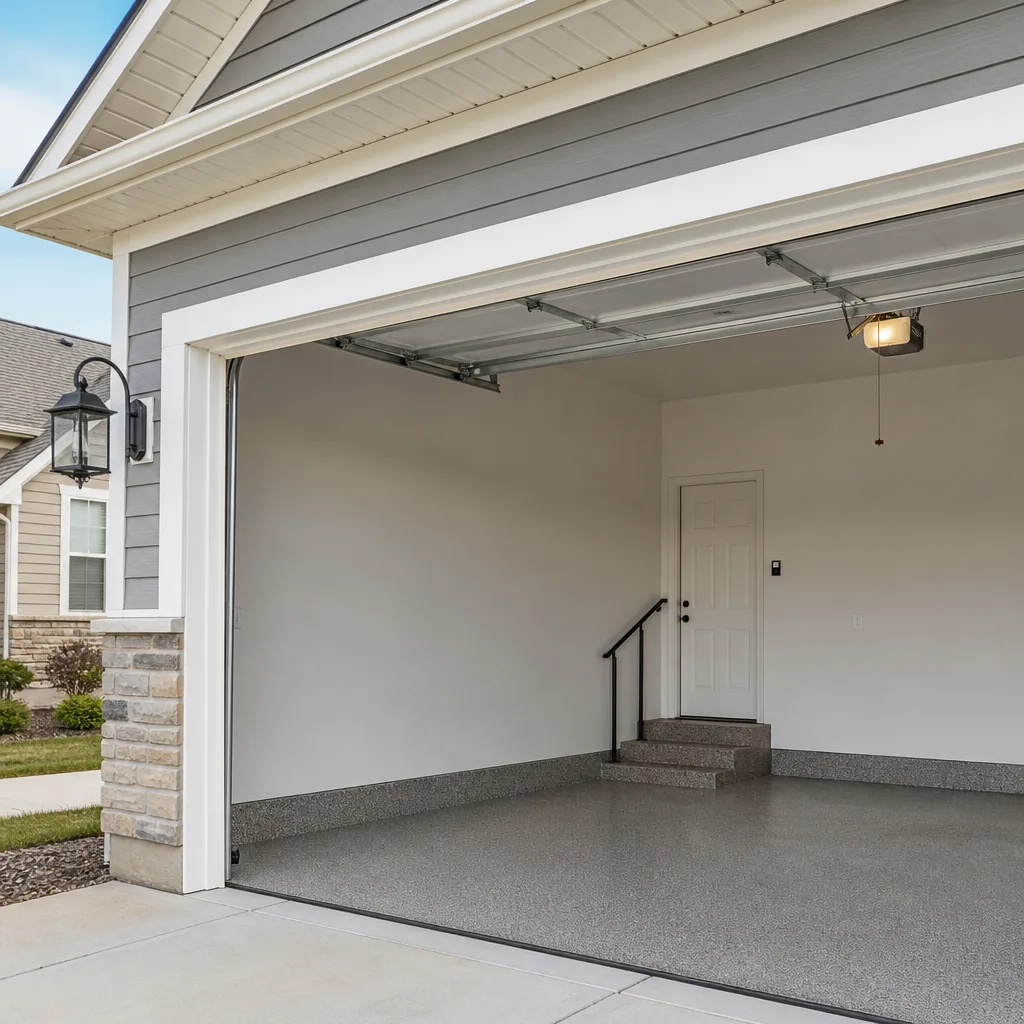 Chamberlain openers
Full 25-point door and opener safety check with every visit - springs, cables, rollers, tracks, and your LiftMaster or Chamberlain opener included
You get a price before we start. It does not change when the truck arrives.
Get your free estimateDIY vs Professional Garage Door: The Bellflower Homeowner’s Decision Guide
Most garage door advice on the internet treats every task as a weekend project, which is how people get hurt. The truth is messier and more useful: a handful of garage door jobs are genuinely safe for a careful homeowner, and several are not safe under any circumstances. What makes the difference is stored energy. A torsion spring wound under 200-plus pounds of tension does not care how many tutorial videos you watched. This guide draws the line precisely, so Bellflower homeowners know which tasks save real money and which ones to hand to a professional before the first bolt comes off.
Quick Answer
Safe DIY garage door tasks in Bellflower include replacing weatherseal, lubricating rollers and hinges, realigning photo-eye sensors, and reprogramming a remote. Professional-only work includes anything involving torsion springs, lift cables, or track adjustment under load. The cost difference matters less than the injury risk: one wrong move with a spring can turn a $225 repair into a hospital visit, and most Bellflower homeowners who attempt spring work end up calling a pro anyway, often after making the original problem worse.
Styles & brands we work with
- Raised-panel steel
- Carriage house
- Modern flush
- Full-view glass
- LiftMaster openers
- Chamberlain openers
Table of Contents
- What’s Actually Safe to DIY
- What You Should Never DIY
- DIY Savings vs. DIY Disasters: The Real Cost Numbers
- California Warranties and Why DIY Can Void Them
- The Honest Tool List for Safe DIY Work
- How to Describe Your DIY Attempt When You Call a Pro
- What Bellflower’s Climate Does to Garage Doors
- Common Mistakes to Avoid
- When to Call a Professional
- Frequently Asked Questions
What’s Actually Safe to DIY
The line between safe and dangerous garage door work is not drawn by skill level. It is drawn by whether the part you are touching is under tension. If a component stores mechanical energy, it belongs to a technician. If it does not, and it unscrews or snaps into place with hand tools, a careful Bellflower homeowner can usually handle it. Here is the short list of tasks that earn the green light.
1. Weatherseal replacement
The rubber strip along the bottom of your garage door rots and cracks in Bellflower’s summer heat. Replacing it requires pulling out the old seal, cutting a new one to length, and sliding it into the retaining channel. No springs, no cables, no tension. Cost runs $15 to $35 for the seal at any hardware store. A professional charges $90 to $140 for the same job, mostly labor and a trip charge. This is the single best DIY value on a garage door.
2. Lubrication
Metal rollers, hinges, and the opener rail need lubrication about twice a year. You need a can of white lithium grease or a garage-door-specific spray, which costs $8 to $14. Spray the hinge pins and roller bearings, wipe off the excess, and you are done in twenty minutes. Skipping this task is the reason most Bellflower garage doors get loud, and the fix is genuinely simple. Do not lubricate the belt on a belt-drive opener, and never grease the track itself.
3. Photo-eye sensor realignment
When the door refuses to close and the opener lights blink, the photo-eye sensors near the floor are usually misaligned. A bump from a trash can or a car tire knocks them out of line. Loosen the wing nut, adjust the sensor until the indicator light comes on steady, tighten it back down. No danger, no special tools, and it takes longer to find the step stool than to fix the sensor.
4. Remote and keypad reprogramming
LiftMaster, Chamberlain, and Genie openers all have a Learn or Program button on the motor unit. Hold it down, press the button on your remote, and the opener remembers the signal. If the remote still will not work after a fresh battery and a reprogram, the problem is likely the logic board, which is professional territory. But the basic pairing is safe, free, and takes under five minutes.
What You Should Never DIY
These are the tasks where the stored energy in the system can release suddenly. A garage door weighs between 150 and 300 pounds. The springs counterbalance that weight, and when a spring is intact, it is holding back hundreds of pounds of force. You cannot see that force until it hits you. We will say this as plainly as it can be said: do not touch these parts.
Torsion spring replacement
Torsion springs sit on a metal bar above the door opening. They are wound tight, and the winding process uses two steel rods inserted into the spring cone. If a rod slips, or if the cone fails, the spring unwinds in a fraction of a second with enough force to break bones or worse. This is not a caution for careless people. Well-equipped, mechanically experienced homeowners have been badly injured doing this exact job. A professional replaces a pair of springs using winding bars, proper bracing, and the right spring size for the door’s actual weight. In Bellflower, spring replacement typically runs $200 to $340 for one spring, and springs are almost always replaced in pairs, so budget roughly double that.
Lift cable replacement
The cables run along both sides of the door and connect the bottom bracket to the drum at the top. They are under the same tension as the springs. When a cable snaps, it becomes a whip. Replacing a cable means releasing spring tension first, which puts you back in the danger zone from the previous paragraph. This is a job we describe to Bellflower homeowners the same way every time: the cable is cheap. The procedure to replace it safely is not.
Track realignment or repair
If the door is binding, jumping, or scraping on one side, the track may be out of alignment. The fix seems simple: loosen the bolts, move the track, tighten it back. The problem is that the track holds the rollers, which hold the door, which is under spring tension. Adjusting a track while the door is still loaded can cause the door to shift unexpectedly and pinch a hand or drop a roller out of the track. A technician releases tension, supports the door, and makes the adjustment without putting body parts between the door and the wall.
Opener drive or logic board repair
Modern openers from LiftMaster and Chamberlain have logic boards, force sensors, and travel modules that fail in ways that are not visible. When the opener runs but the door does not move, or the opener clicks and does nothing, the diagnosis requires testing voltage at the board and checking the drive gear. The electrical hazard is real, and the parts are brand-specific. We routinely repair openers where a homeowner replaced the wall button first, then the remote, then the capacitor, and none of it fixed the actual fault.
DIY Savings vs. DIY Disasters: The Real Cost Numbers
The DIY question is usually framed as a calculator: parts cost $X, a pro costs $Y, so DIY saves the difference. That math works for weatherseal. It fails badly for anything involving the counterbalance system. Here is the honest comparison for Bellflower, based on typical local pricing.
- Weatherseal: DIY $15 to $35. Professional $90 to $140. DIY makes sense.
- Lubrication: DIY $8 to $14. Professional $60 to $90. DIY makes sense.
- Sensor realignment: DIY $0. Professional $75 to $110. Try DIY first.
- Remote reprogramming: DIY $0. Professional $50 to $80 service call. Try DIY first, but if a new remote is needed, a Chamberlain or LiftMaster remote runs $30 to $60, and pairing it is free.
- Spring replacement: Professional $400 to $680 per pair. A DIY attempt that slips costs an emergency room visit, a day off work, and still requires the professional repair afterward. No savings here.
- Cable replacement: Professional $180 to $300 per side. A snapped cable under tension is a serious injury risk. No savings.
- Opener replacement: Professional installation of a new LiftMaster or Genie opener in Bellflower runs $450 to $750 installed, including labor. A DIY opener swap saves $150 to $250 in labor, but if the door is not balanced first, the new opener’s force sensor will trip constantly, and the warranty will not cover the resulting damage.
The pattern is clear. DIY saves real money on the tasks that do not touch the counterbalance system. On the tasks that do, the professional price is the cheap option, because the alternative includes injury risk and a second repair call.
California Warranties and Why DIY Can Void Them
California has some of the strongest consumer protection laws in the country, and they cut both ways for garage door work. Manufacturers write warranties with specific language about who may perform service. Most major brands, including LiftMaster, Chamberlain, and Genie, state that the warranty covers defects in materials and workmanship, not damage caused by unauthorized repair or improper installation. If you open the opener housing and replace a drive gear yourself, and the logic board fails three weeks later, the manufacturer can reasonably point to the unauthorized work and deny the claim.
This matters more today than it did ten years ago. Many new openers in Bellflower homes are app-connected. The warranty is registered through the app, the opener’s firmware updates over Wi-Fi, and the manufacturer tracks the unit’s serial number and service history. A DIY repair on a newer opener is more likely to be noticed and more likely to complicate a warranty claim than on an older, dumb opener. Our advice to Bellflower homeowners is simple: check your opener’s warranty language before opening the motor housing. If the unit is under warranty, the manufacturer may cover parts and labor for a service call, which makes DIY pointless from a cost standpoint. If it is out of warranty, garage door opener repair is a job where a technician’s brand-specific parts knowledge pays for itself.
The Honest Tool List for Safe DIY Work
YouTube garage door channels make money by convincing you to buy $600 in specialized tools for a $30 job. Here is what a Bellflower homeowner actually needs for the safe tasks on this page, nothing more.
- A 3/8-inch socket set and an adjustable wrench. These cover weatherseal brackets, sensor wing nuts, and the bolts on most residential door hardware.
- A flathead and a Phillips screwdriver. For opener covers, sensor brackets, and remote battery compartments.
- A pair of pliers. Not for springs. For removing cotter pins and gripping small parts.
- A step stool or small ladder. Garage doors are tall. Do not work off a bucket.
- White lithium grease or garage-door spray lube. One can lasts a Bellflower homeowner about two years.
- Work gloves and safety glasses. Cheap, boring, and they prevent the most common minor injuries on garage door work.
That is the entire list. If a video tells you to buy a winding bar set, stop watching that video. Winding bars are for torsion springs, and torsion springs are not on your list anymore.
How to Describe Your DIY Attempt When You Call a Pro
We answer calls from Bellflower homeowners who tried the DIY route and want a professional to finish the job. The call goes faster and the diagnostic is more accurate if you can describe what you did. Here is the information that helps us most.
- The opener brand and model. LiftMaster and Chamberlain are the most common in Bellflower, but Genie and Craftsman show up regularly too. The model number is on a sticker on the motor unit. If you can read it, the parts come on the truck the first time.
- What the door was doing before you touched it. Did it open and stop halfway? Did it close and then reverse? Did it make a loud bang? The original symptom matters more than anything you did afterward.
- What you tried, in the order you tried it. “I replaced the remote battery, then I reprogrammed it, then I unplugged the opener for five minutes.” That sequence tells a technician whether the problem is likely the remote, the board, or the safety circuit.
- Whether any parts were removed or loosened. If you took off the opener cover, disconnected a wire, or loosened a track bolt, say so. It changes the picture and prevents a technician from assuming a part failed when it was actually unseated.
- What the door looks like now. Is it open, closed, or half-open? Is the emergency release handle dangling? Is a cable hanging loose? A quick description lets us plan the repair before we arrive.
You do not need to apologize for trying. Most of the time, the DIY attempt did not cause the original problem, and knowing what you tried just gets us to the real fix faster. Colonial Garage Door Repair works on LiftMaster, Chamberlain, Genie, and Raynor openers, so the brand you own is one we are already familiar with.
What Bellflower’s Climate Does to Garage Doors
Bellflower sits inland enough that the garage door problems here are driven by heat, dryness, and airborne dust, not cold or moisture. High summer temperatures bake the rubber weatherseal until it cracks and stiffens. The same heat degrades the lubrication on rollers and hinges faster than average, which is why a squeaky door in Bellflower usually needs lubrication twice a year rather than once. Dry, dusty air also settles on the opener’s sensors and the photo-eye lenses, which can cause phantom reversing issues when the sensors read the dust as an obstruction.
Homeowners in neighborhoods across Bellflower report the same seasonal pattern: doors get noisy in late summer, seals crack by Labor Day, and the sensor lenses need a wipe more often than the manual suggests. Hail is uncommon here, so impact damage is more likely to come from a stray basketball, a backing car, or furniture moved through the garage. The good news is that none of these problems are structural. The weatherseal, the lubrication, and the sensor cleaning are all on the safe DIY list above. If the door itself is damaged, that is a different conversation, and garage door repair is the place to start.
Common Mistakes to Avoid
- Watching a torsion spring tutorial and thinking it looks easy. It looks easy because the person filming has done it a hundred times. The first time is when the winding bar slips. Bellflower homeowners should not make their first time a real door under full tension.
- Replacing one spring instead of two. When one torsion spring breaks, the other is typically near the end of its life too. Replacing only the broken one means the door is unbalanced, the new spring wears faster, and you pay for a second service call within a year or two.
- Lubricating the track. The track is not where the friction happens. Greasing the rails just attracts a paste of dust and grime, and in Bellflower’s dry air, that paste hardens and makes the door stick.
- Adjusting the opener’s force settings to compensate for a heavy door. If the door feels heavy or the opener struggles, the springs are failing. Cranking up the force dial makes the opener work harder and shortens its life, and it does not fix the underlying balance problem.
- Using WD-40 on garage door parts. WD-40 is a water displacer, not a lubricant. It cleans and then dries out, leaving the parts less lubricated than before. Use white lithium grease or a garage-door-specific spray.
- Ignoring a fraying cable. Cables do not fail silently. They fray one strand at a time, and if you look at the cable where it meets the bottom bracket, you can see the fraying weeks before it snaps. A snapped cable under tension is a sudden, violent failure, and the cost to replace a frayed cable is half the cost of replacing a snapped one plus whatever it hit on the way.
- Buying parts from a generic online marketplace before the door is diagnosed. A cheap spring that is the wrong size for the door’s weight either breaks early or makes the door fly up when released. Spring size is measured in wire gauge, coil length, and inside diameter, and the wrong combo is worse than the broken one it replaced.
When to Call a Professional
Call a professional if the problem involves a spring, a cable, a track under load, or an opener that is not responding to its own controls. Also call if you have tried the safe DIY tasks and the door still will not close, or if the door feels unusually heavy when you pull the emergency release and lift it by hand. A door that is heavy in manual mode has a spring problem, full stop. Colonial Garage Door Repair offers free estimates in Bellflower, and we are set up to diagnose both the door and the opener in a single visit. Call (833) 598-2561. We answer 24/7. Fast dispatch from 7am to 7pm, Sunday through Friday.
Frequently Asked Questions
No. Torsion and extension springs are under enough tension to cause serious injury or death if the spring releases while you are working on it. This is the one task where the answer is a flat no, regardless of your skill level. Professional spring replacement in Bellflower typically runs $400 to $680 per pair, and it is a same-day job for a technician with the right equipment.
You can replace the bottom weatherseal, lubricate the rollers and hinges, realign the photo-eye sensors, and reprogram a remote or keypad. These tasks involve no stored energy and need only basic hand tools. The weatherseal and lubrication jobs are the ones that actually save you meaningful money.
It can, especially on newer app-connected openers from LiftMaster, Chamberlain, and Genie. Manufacturers commonly exclude damage caused by unauthorized repair or improper installation from warranty coverage. If your opener is still under warranty, check the terms before opening the motor housing, because manufacturer-covered service may cost you less than a DIY attempt.
Typical local pricing runs $90 to $140 for weatherseal replacement, $75 to $110 for sensor realignment, $180 to $300 per side for cable replacement, and $400 to $680 for a spring pair. Opener replacement including installation runs $450 to $750 depending on the brand and features. Every job is quoted in writing before work begins. Call (833) 598-2561 for a free estimate.
Check the photo-eye sensors first. Wipe off the lenses, make sure the small indicator lights are steady, and confirm nothing is blocking the beam. If the sensors are clean and aligned and the door still reverses before it hits the floor, the travel limits or force settings may need adjustment, which is a professional task. If the door closes unevenly or with a loud noise on one side, stop using it and call a technician.
Colonial Garage Door Repair works on LiftMaster, Chamberlain, Genie, and Raynor openers, along with door panels from Clopay, Amarr, Wayne Dalton, and Craftsman. We are factory-familiar with the most common brands in Bellflower, so the diagnosis is faster and the correct parts come on the truck the first time.
The Bottom Line
The DIY vs. professional garage door decision in Bellflower comes down to one question: is the part I am touching under spring tension? If not, the safe DIY list on this page will save you money on weatherseal, lubrication, sensors, and remotes. If yes, the professional quote is not an upsell, it is the price of keeping your hands and face intact. A door that is balanced, lubricated, and serviced on schedule lasts longer in Bellflower’s hot, dry climate, and the smartest DIY move is knowing exactly where your line is.
Written by the team at Colonial Garage Door Repair, serving Bellflower since 2013.
See the difference
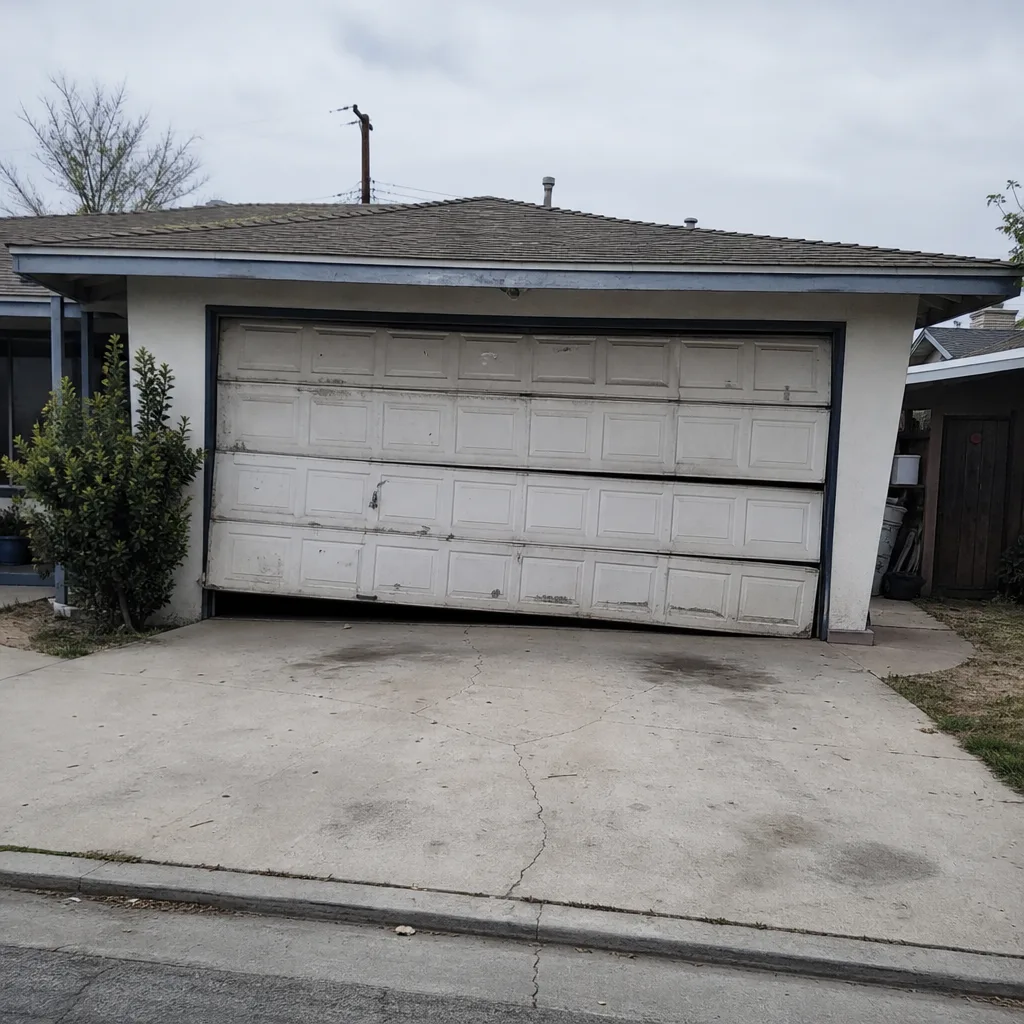 Before
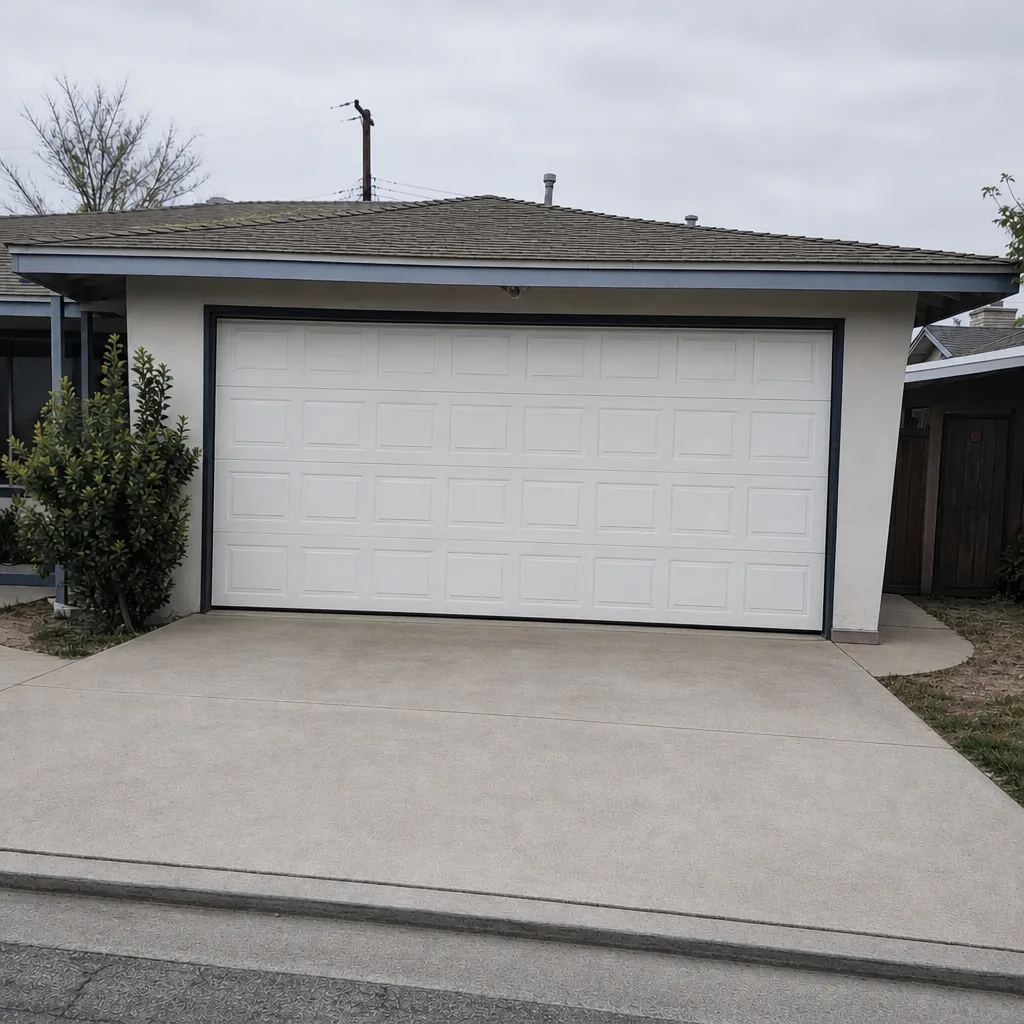 After
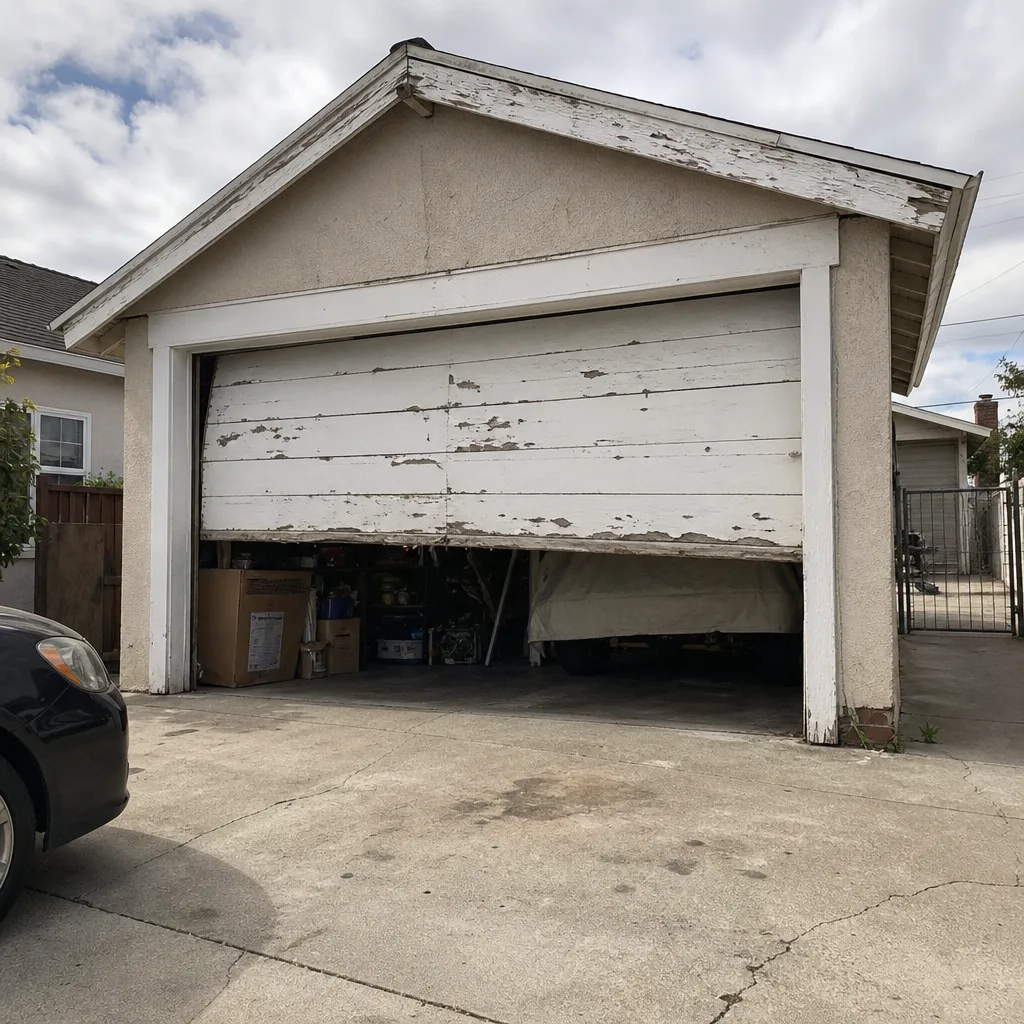 Before
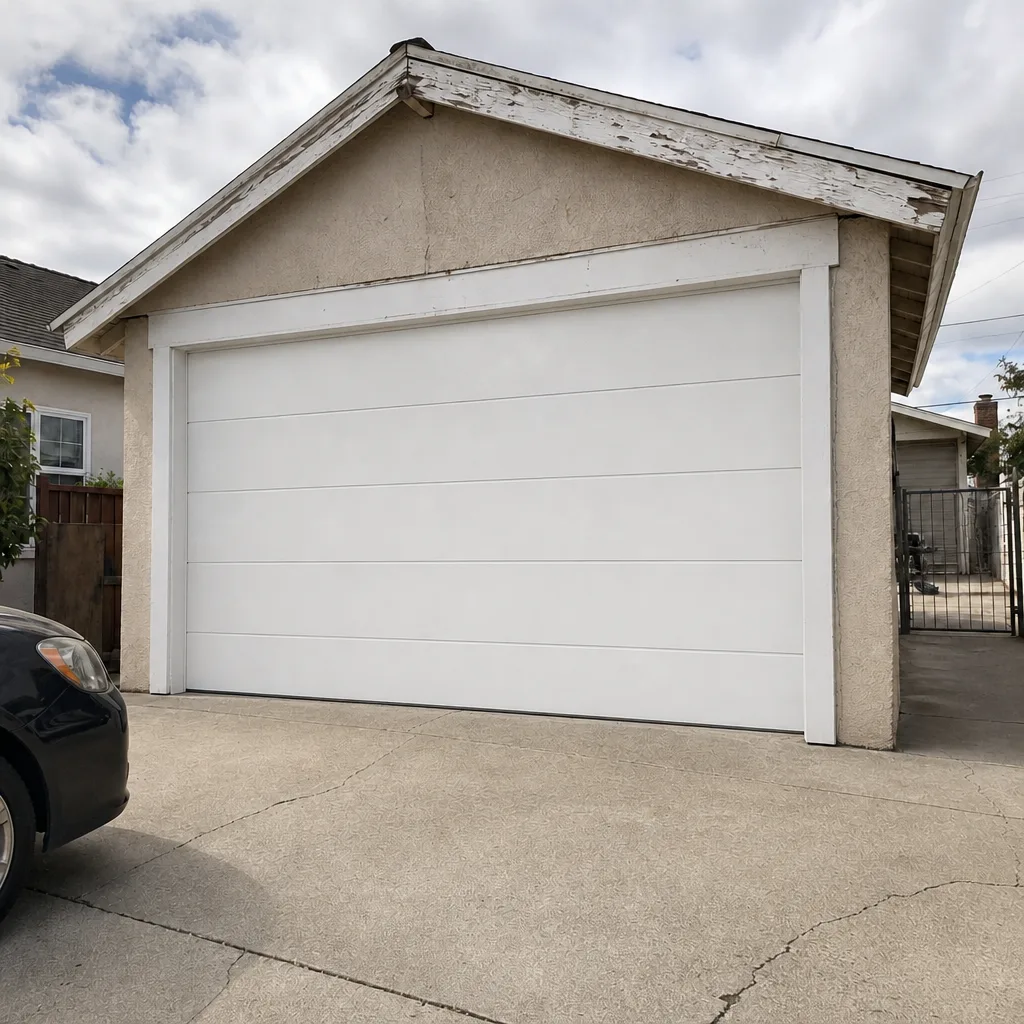 After
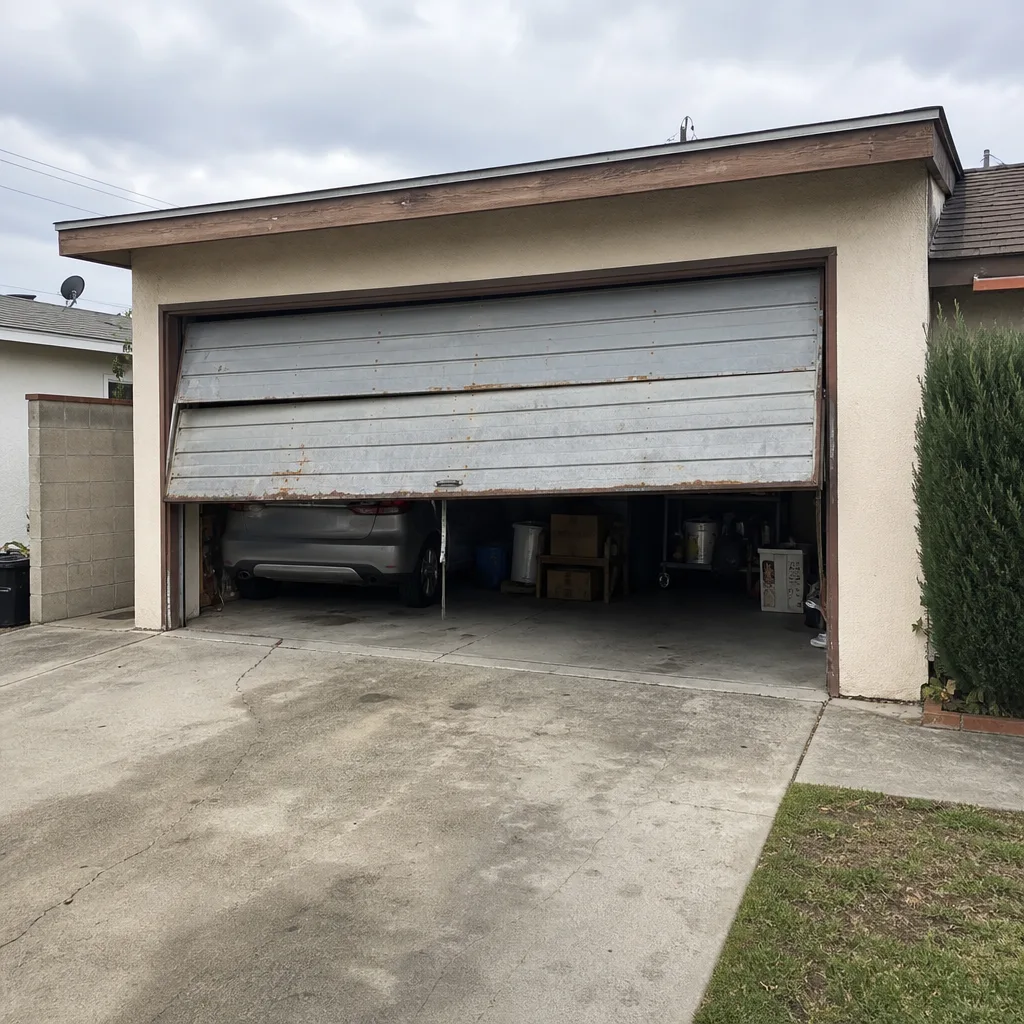 Before
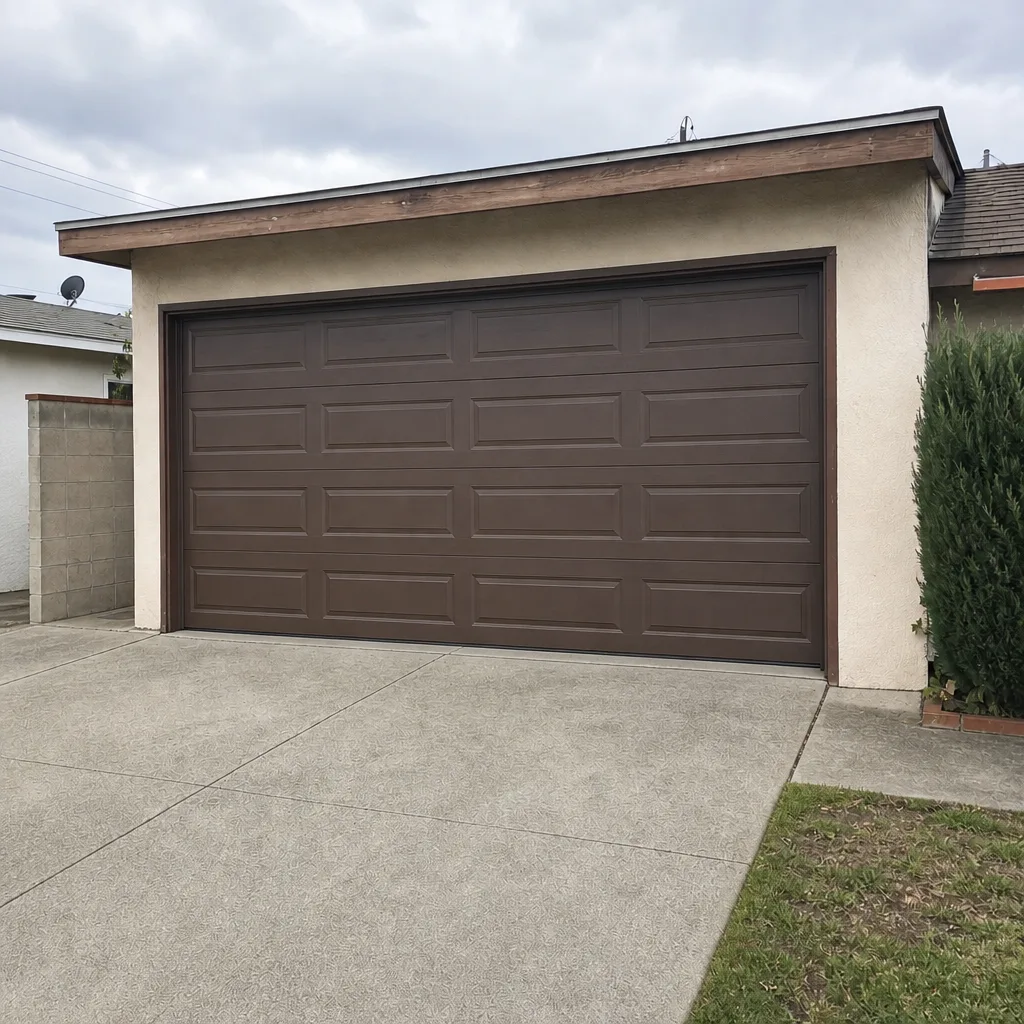 After