
Last updated November 4, 2026
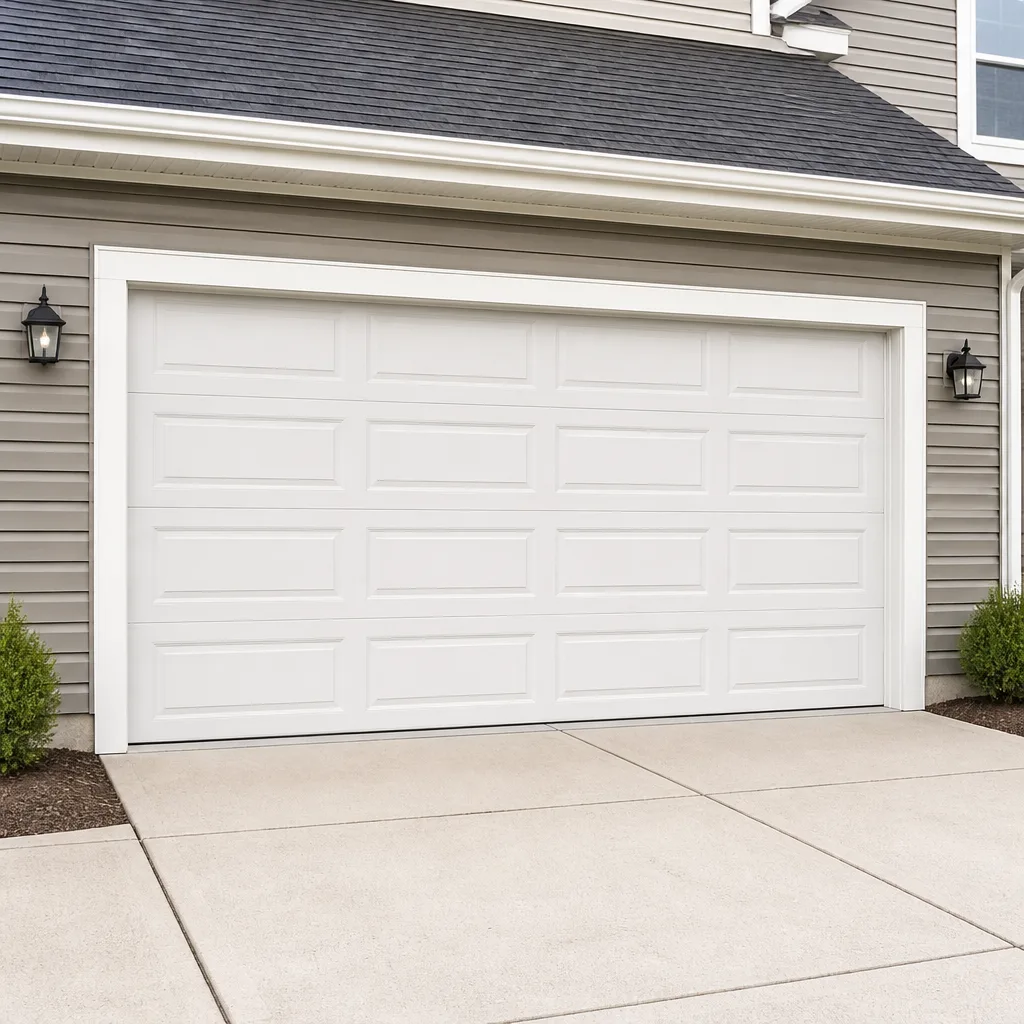 Raised-panel steel
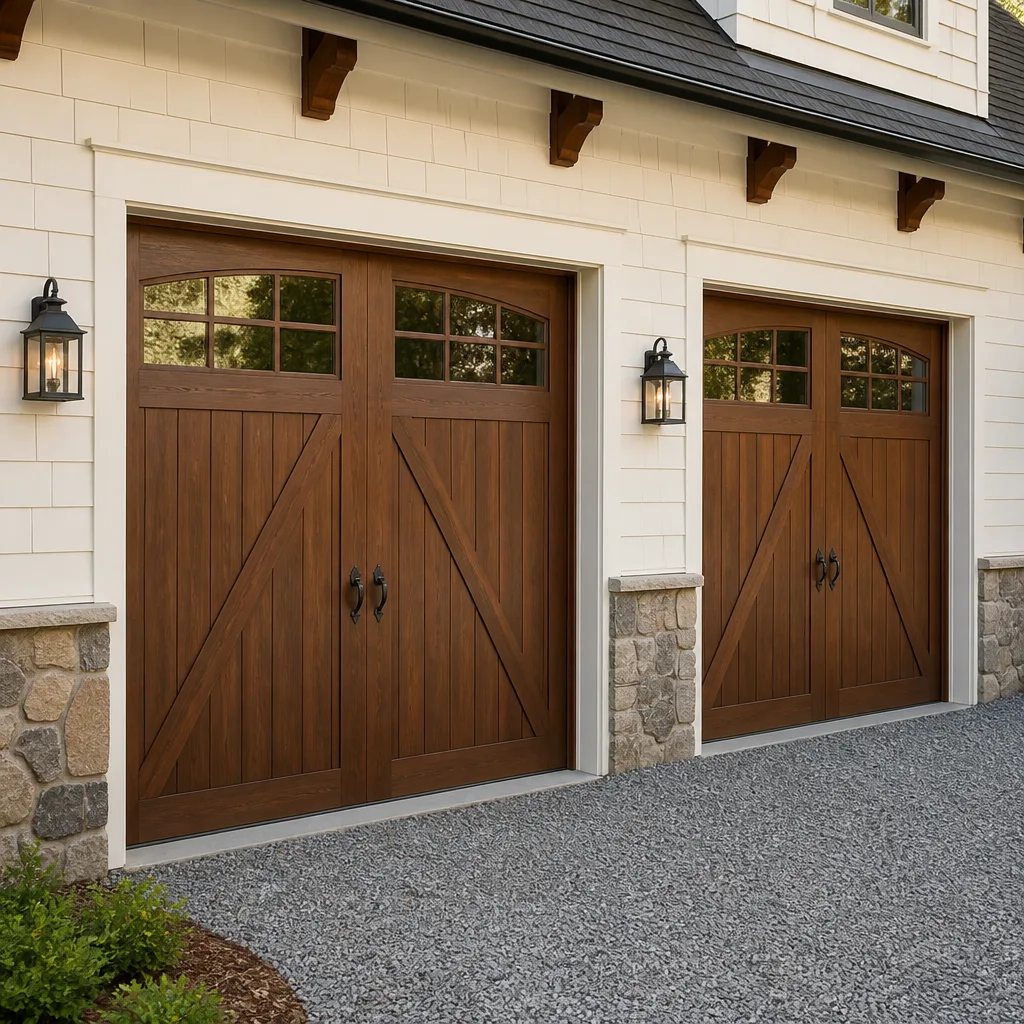 Carriage house
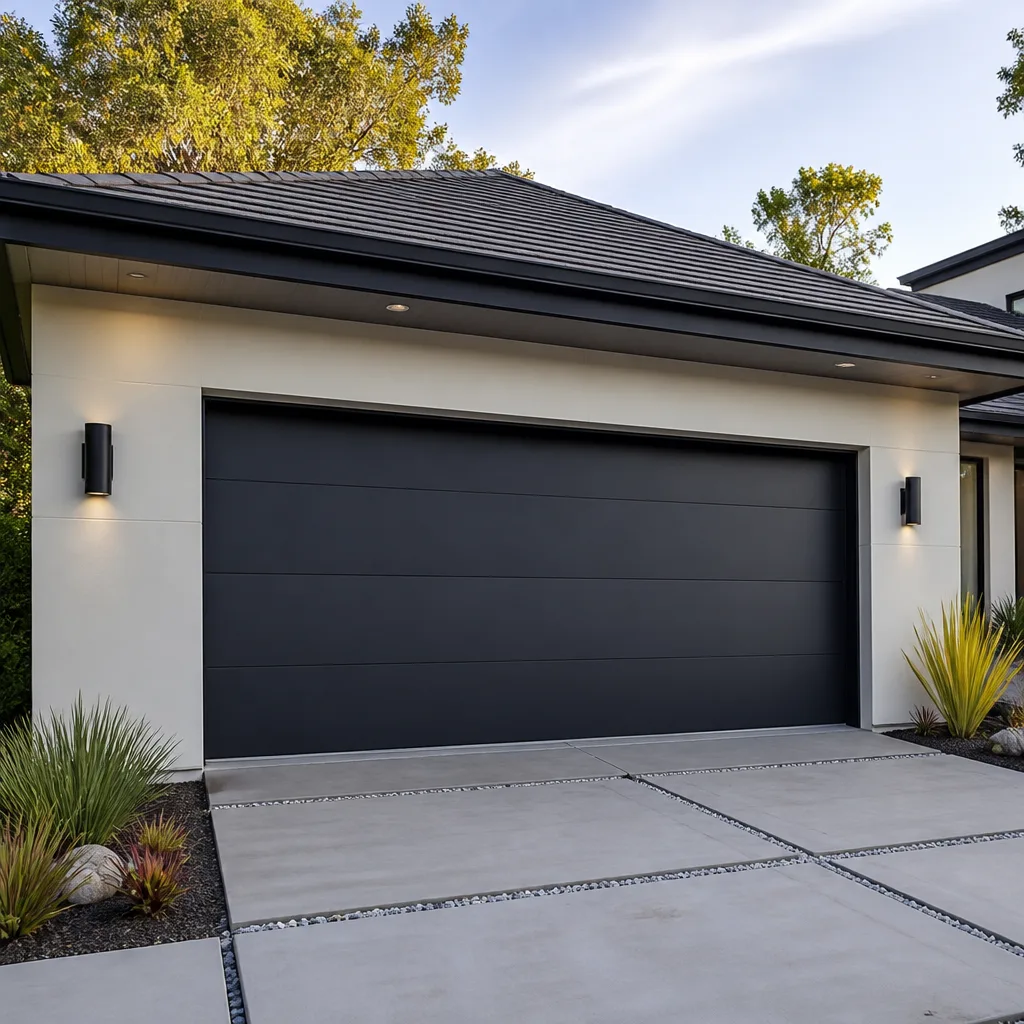 Modern flush
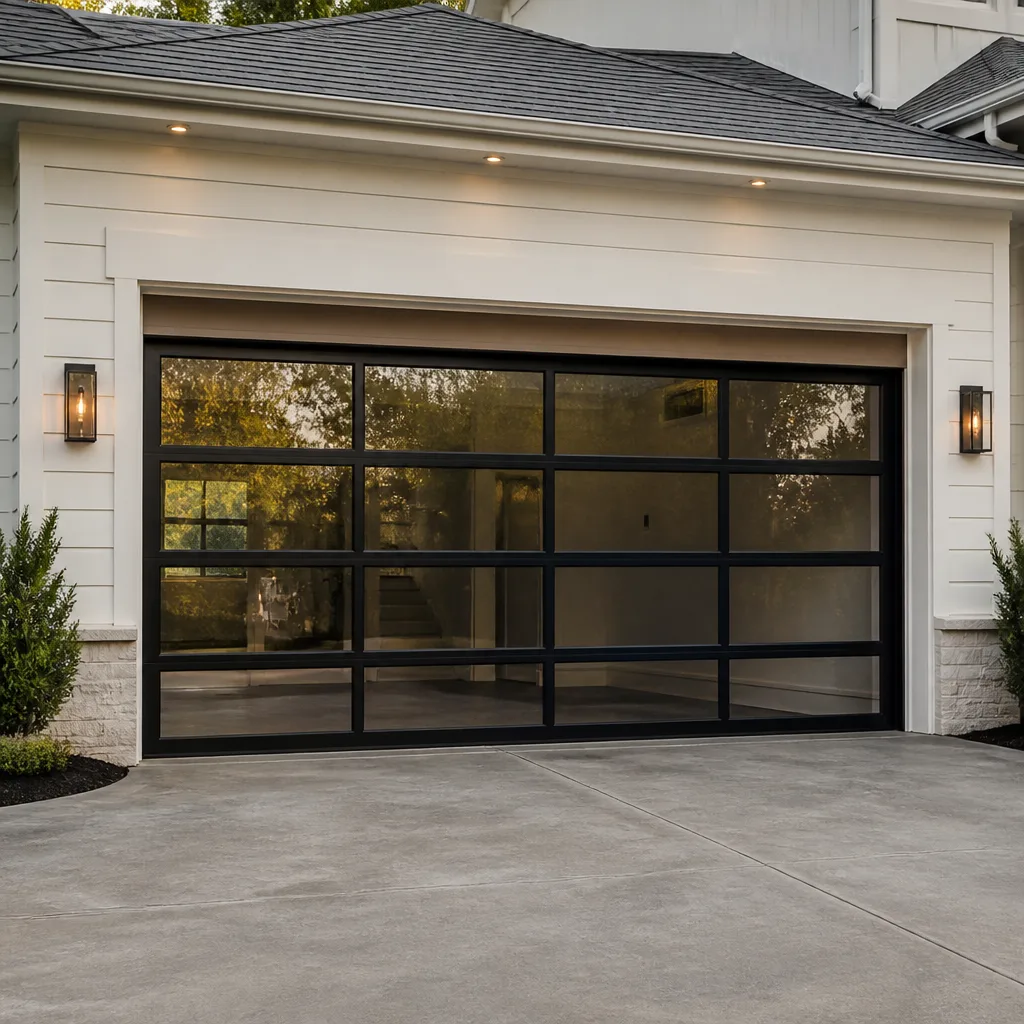 Full-view glass
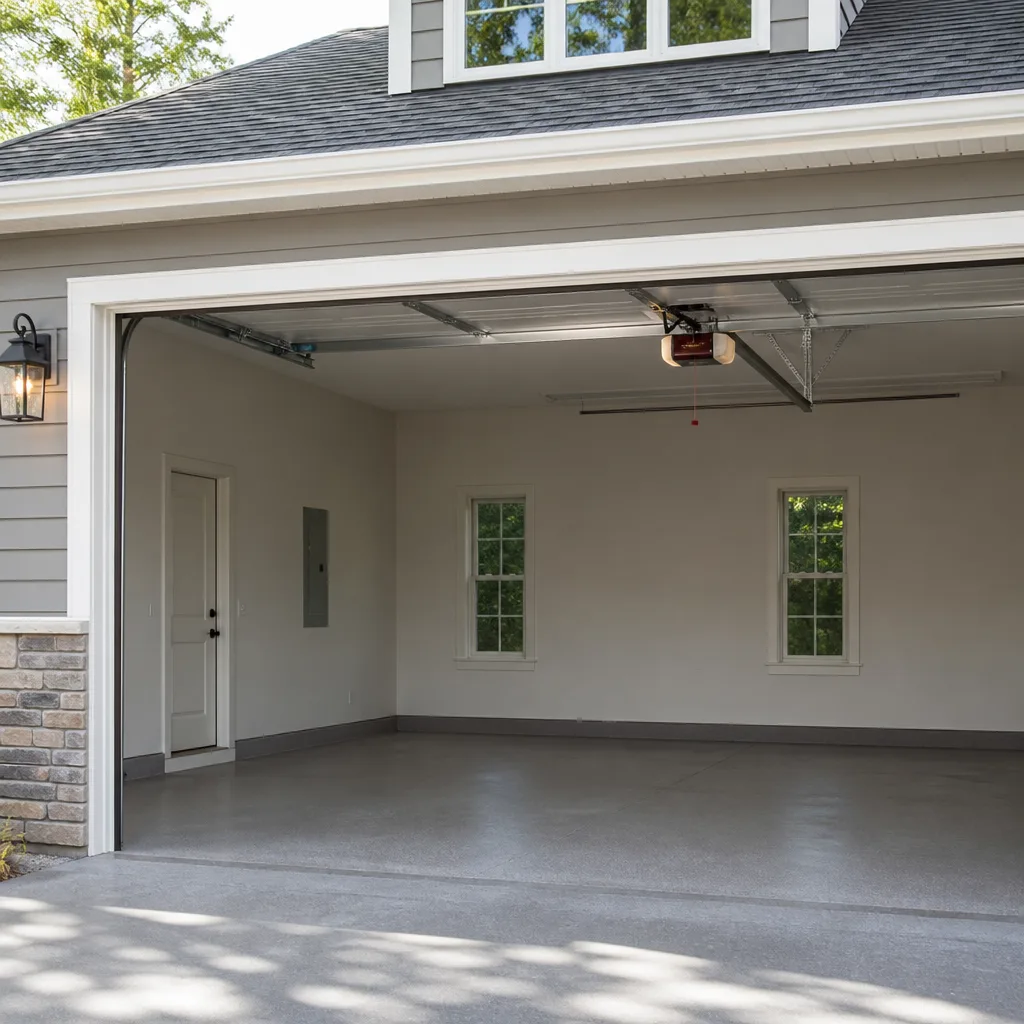 LiftMaster openers
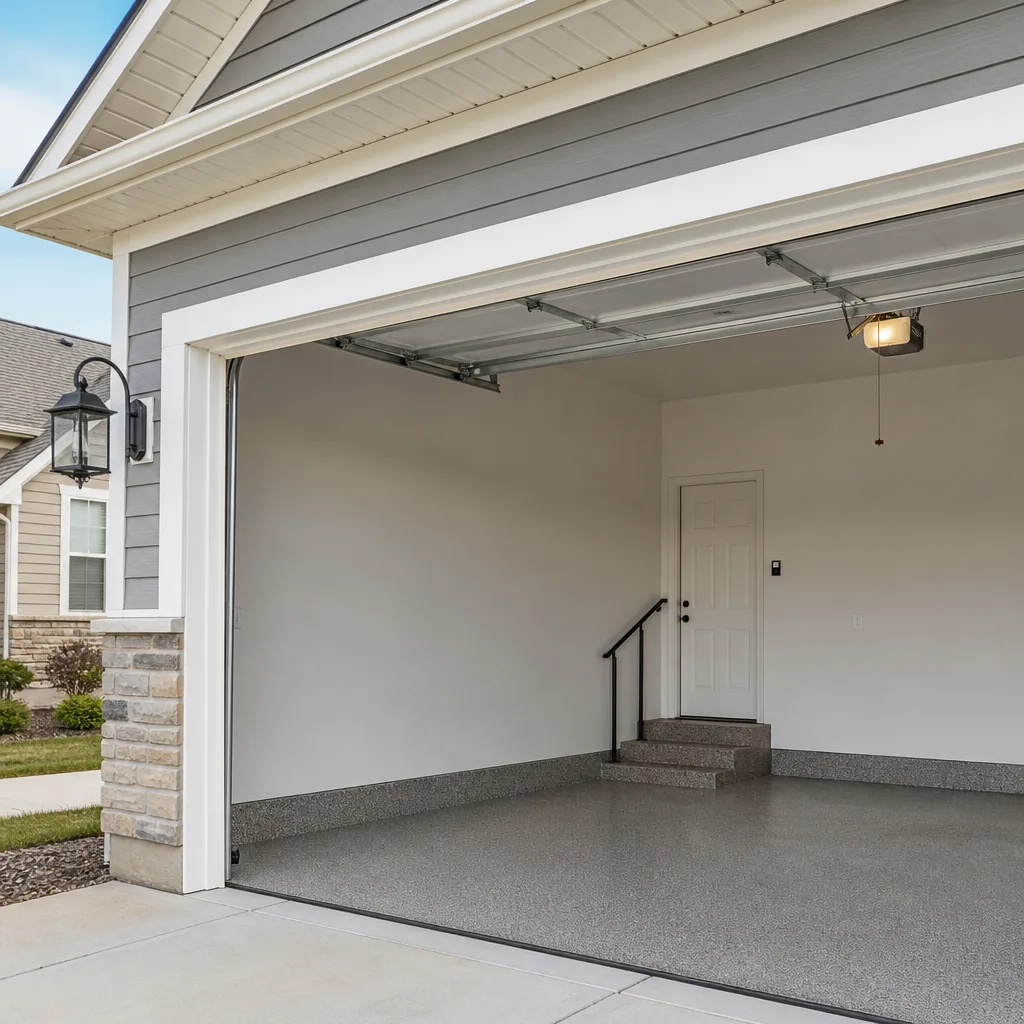 Chamberlain openers
Full 25-point door and opener safety check with every visit - springs, cables, rollers, tracks, and your LiftMaster or Chamberlain opener included
You get a price before we start. It does not change when the truck arrives.
Get your free estimateGarage Door Repair Maintenance Checklist for Bellflower Homeowners
Most homeowners in Bellflower treat garage door maintenance like a single to-do list where every item carries the same weight. That assumption is what turns a $4 tube of white lithium grease on the rollers into a $600 track replacement six months later. The order matters, and so does knowing which tasks you can handle safely and which ones need a trained technician. This guide ranks every maintenance item by failure risk and cost consequence so you know exactly what to do now, what can wait, and what you should never touch yourself. Think of it as the checklist that actually prevents breakdowns instead of just documenting them.
Quick Answer
A practical garage door maintenance checklist for Bellflower homeowners has two tiers: monthly 5-minute owner tasks (visual inspection, lubrication of non-spring parts, listening for new sounds, clearing debris from tracks) and twice-yearly technician tasks (spring tension verification, cable inspection, balance and force testing, opener drive system service). The critical items are the balance test and force resistance test, which together reveal roughly 80% of developing problems before they become breakdowns. Skip spring and cable work entirely unless you are trained: those components are under enough tension to cause serious injury.
Styles & brands we work with
- Raised-panel steel
- Carriage house
- Modern flush
- Full-view glass
- LiftMaster openers
- Chamberlain openers
Table of Contents
- The Tiered Checklist: What You Do vs. What We Do
- Monthly 5-Minute Owner Tasks
- How to Do the Balance Test Correctly
- The Force Resistance Test Most Homeowners Skip
- Bellflower-Specific Checks: UV, Santa Ana Dust, and Humidity
- Opener Maintenance by Drive Type: Belt, Chain, and Screw
- The Maintenance Log: Why You Need One and What to Record
- Common Mistakes to Avoid
- When to Call a Professional
- Frequently Asked Questions
The Tiered Checklist: What You Do vs. What We Do
You would not replace your own timing belt at home, and you should not tension your own garage door springs. But you also should not pay a technician to do things that take you five minutes with a rag and a can of lubricant. Here is how we split the work for a home in Bellflower, where dry air and dust change the maintenance equation compared to coastal cities.
Tier 1: Monthly owner tasks (5 minutes, no tools required)
- Open and close the door once while watching and listening from inside the garage.
- Wipe the bottom weather seal with a damp cloth and check for cracks or gaps.
- Clear loose dust and debris from the horizontal and vertical tracks using a dry rag.
- Check that the photo-eye sensors near the floor are aligned and free of spiderwebs.
- Test the auto-reverse function with a roll of paper towels on the floor.
- Note any new squeaks, grinding, or hesitation and write them down.
Tier 2: Twice-yearly technician tasks (do not attempt these yourself)
- Spring tension verification on torsion or extension springs. Never adjust these yourself.
- Cable inspection for fraying, rust, or loose strands. A snapped cable can whip with enormous force.
- Balance test and force resistance test using a professional gauge.
- Opener drive system service specific to belt, chain, or screw-drive models.
- Lubrication of springs and bearings with the correct product. We use the right grade for each brand, whether that is a Wayne Dalton torque tube, a Raynor torsion setup, or a Craftsman extension system.
- Logic board and travel limit check on the opener to catch sensor drift before it causes a failure.
We have seen enough doors in Bellflower to know that the monthly tasks catch about half of developing issues, and the semi-annual technician visit catches the other half, specifically the ones that would be dangerous for a homeowner to attempt.
Monthly 5-Minute Owner Tasks
These checks are safe, quick, and they matter. The most useful ones are the ones you do consistently, not the ones you do thoroughly once and then forget for a year.
1. The visual sweep (90 seconds)
Stand inside the garage with the door closed. Look at the tracks on both sides. Check for bent sections, loose bolts, or dust buildup. Look at the cables that run along each side: they should be taut and free of rust or frayed strands. Look at the springs above the door. Torsion springs should not have visible gaps in the coils. Extension springs should not look stretched or loose. Do not touch anything. This is a look-only check.
2. The sound check (60 seconds)
Run the door through a full open-close cycle. A properly maintained door makes a consistent, low mechanical sound. New noises matter more than loudness. A squeak that appears at the same point in travel every time usually indicates a roller bearing starting to wear. Grinding often means debris in the track or a roller flat-spotting. Hesitation or a pause mid-cycle is worth noting even if it goes away.
3. The photo-eye check (30 seconds)
Locate the two small sensors near the floor on either side of the door opening. They should have small indicator lights that are solid, not blinking. Wipe the lenses with a dry cloth. A blinking light usually means misalignment, which you can often fix by gently nudging the sensor bracket until the light goes solid. If the light will not stabilize, call for garage door repair before the door stops closing altogether.
4. The auto-reverse test (60 seconds)
Place a single roll of paper towels flat on the floor where the door will close. Close the door using the opener. The door should reverse within two seconds of touching the roll. If it crushes the roll or does not reverse, stop using the opener and call a technician. This feature exists to protect people and pets, and when it fails it is an urgent fix, not a future to-do.
5. The lubrication pass (90 seconds)
Use a white lithium grease or a silicone-based garage door lubricant on the rollers, hinges, and the opener rail. Do not lubricate the springs yourself in most cases: the proper product depends on the spring type, and your fingers should not be near them anyway. In Bellflower’s dry climate, lubrication breaks down faster than in humid areas, which means consistent monthly application does more here than it would elsewhere.
How to Do the Balance Test Correctly
Most homeowner checklists mention the balance test but almost none explain what “balanced” actually means or how to read the result. Here is the correct procedure, along with what the result tells you.
What the balance test reveals
A balanced door should hold its position at any point in the travel cycle when opened manually. If the door drops, the springs are losing tension and the opener motor is working harder than it should. If the door rises, the springs are over-tensioned and the door can slam if a cable breaks. Both scenarios are red flags for the opener’s lifespan, not just the door’s smooth operation.
Step-by-step balance test
- Pull the emergency release cord to disconnect the opener from the door. The cord hangs from the center rail.
- Lift the door manually to waist height and slowly release it.
- Watch what happens. The door should stay roughly where you left it, moving no more than a few inches.
- Repeat the test at three heights: knee height, waist height, and chest height.
- Reconnect the opener by pulling the release cord again and running a full cycle. The opener will re-engage automatically.
If the door drops more than a few inches at any height, the springs are under-tensioned. If it rises on its own, they are over-tensioned. Both conditions need a spring adjustment from a technician. Do not attempt to adjust spring tension yourself. Torsion springs are wound under hundreds of pounds of force, and the winding bars can slip without warning. We have seen homeowners in Bellflower make the attempt and end up with broken wrists and damaged panels. This is the one check where the correct action after a failed test is to close the garage door carefully and pick up the phone.
The Force Resistance Test Most Homeowners Skip
You can test the force settings on most openers without opening the unit or touching the motor. This test tells you whether the opener is pushing too hard, which is the leading cause of premature opener failure and damaged panels.
How the test works
The opener has two force settings: one for the opening force and one for the closing force. When these settings drift too high, the opener will keep pushing even when the door meets resistance. That means a door that is slightly off its track, or a roller that binds, will get forced through the cycle instead of stopping. Over months, that extra force bends brackets, wears gear teeth, and burns out motors.
- Stand clear of the door path and close the door completely.
- Press the wall button to open the door. Watch the door as it travels. It should move at a consistent speed from bottom to top without slowing or surging.
- Press the button to close the door. Again, the speed should be constant.
- While the door is closing, place your palm flat on the lower panel and apply light upward resistance for just half a second. The door should stop and reverse immediately. If it keeps pushing against your hand, the closing force is set too high.
Most openers allow you to adjust the force using two dials or a menu on the opener unit. On a LiftMaster opener, the force is usually adjusted through a small panel on the side of the motor housing. On a Craftsman opener, the adjustment dials are typically on the back. If you are not comfortable making these adjustments, or if the door does not reverse consistently, leave the opener disconnected and call for garage door opener repair. This test catches developing opener problems before the failure strand you or do panel damage.
Bellflower-Specific Checks: UV, Santa Ana Dust, and Humidity
Bellflower has a specific weather pattern that affects garage doors differently than the coastal cities to the south and west. The inland valley heat, combined with periodic Santa Ana wind events, creates three maintenance factors that generic checklists miss.
UV-related seal cracking
Bellflower sees intense sunlight through most of the year. The bottom weather seal on a garage door, along with the perimeter seals on the sides, are made of rubber or vinyl compounds that break down under sustained UV exposure. We see cracked and brittle bottom seals here more often than in coastal communities. Check yours monthly by pinching it gently: it should flex without splitting. If it cracks, replacement is inexpensive and prevents dust, water, and pests from entering the garage.
Santa Ana dust and debris intrusion
When the Santa Ana winds blow through Bellflower, they carry fine dust and grit that settles into horizontal tracks, roller bearings, and opener chains. That grit acts as an abrasive. Over weeks, it accelerates wear on rollers and can cause the door to bind at a specific point in its travel. After any extended Santa Ana period, run a dry cloth along the inside of both horizontal tracks. If the door has been sluggish, we recommend a track cleaning and roller lubrication as a monthly habit during the dry season.
Humidity effects on wood trim panels
Homes in Bellflower with wood garage door panels deal with a specific cycle: periodic morning humidity followed by rapid drying in the afternoon heat. That expansion and contraction loosens panel joints, cracks painted surfaces, and can warp panels over time. If you have a wood door, check the panel seams every month for new gaps or paint bubbling. A small gap sealed early costs far less than replacing a warped panel.
Opener Maintenance by Drive Type: Belt, Chain, and Screw
Maintenance intervals and failure modes differ significantly between opener drive types. Knowing which one you have changes what you should check and how often. The brand on the opener matters too, because LiftMaster and Craftsman units have different logic board behaviors and adjustment methods than Genie or Chamberlain units.
Belt-drive openers
Belt-drive openers are the quietest and the most durable of the three types in our experience. The maintenance is simple: check belt tension once every six months. A loose belt slips and causes the door to jerk; an overtightened belt stretches prematurely. You should also inspect the belt for cracks or frayed edges. These units rarely fail abruptly, but when they do, it is usually the logic board or the travel limit module rather than the drive itself.
Chain-drive openers
Chain-drive openers are the workhorses in Bellflower garages, and they are also the most maintenance-heavy. The chain stretches over time, and slack leads to jerky operation and accelerated sprocket wear. A chain that has stretched significantly will sag below the rail. On a Craftsman chain-drive unit, this is the single most common cause of a noisy door that eventually fails to open. Lubricate the chain with a light machine oil every six months, but do not over-lubricate: excess oil collects dust and creates an abrasive sludge.
Screw-drive openers
Screw-drive openers are less common now, but many Bellflower homes still have them, especially older Genie models. They need consistent lubrication on the screw and appear sensitive to temperature swings. In Bellflower’s heat, the grease on a screw-drive unit breaks down faster than on a belt or chain. If you see a film of dark grease accumulating on the rail, that is old lubricant pushing out of the carriage. Clean the rail and re-lubricate with a product rated for screw-drive openers, or have it done during a semi-annual service.
The logic board question by brand
Every opener has a logic board, and the way it behaves under stress varies by brand. We frequently replace logic boards on LiftMaster and Chamberlain units that fail after power surges, a real concern in Bellflower during summer brownout conditions. A board can fail even when the motor and drive system are fine. If your opener buzzes but does not move, or if the wall button lights up but the motor stays silent, the logic board is a likely culprit. This is a diagnostic job for a technician: the failure pattern is specific to the board generation, and throwing parts at it without a proper diagnosis gets expensive.
The Maintenance Log: Why You Need One and What to Record
Most homeowners in Bellflower have no record of what has been done to their garage door. That absence matters in two situations: warranty claims and resale disclosure. A simple log solves both. Here is a template that takes under a minute to update after any service or monthly check.
What to record
- Date of the check or service.
- What was done. Example: “Lubricated rollers and hinges” or “Replaced bottom weather seal.”
- Parts replaced. Include brand and model where applicable. “Replaced one torsion spring, Wayne Dalton 0.207 wire” tells a future technician what is on the door.
- Opener error codes. If your opener flashes a code after a failed cycle, write down the number of flashes or the code shown on the display. Different brands use different code patterns. On a Craftsman opener, for example, a certain number of flashes indicates a sensor wiring issue. The code itself may not tell you the fix, but it gives the technician a starting point.
- Notes on new sounds or behavior. “Door hesitates at the halfway point” is more useful three months later than trying to remember when it started.
Why the log matters
When you sell a home in Bellflower, the disclosure form asks about the condition of the garage door and opener. A log showing consistent maintenance answers the buyer’s questions before they are asked, and it documents that you did not conceal a known problem. For warranty claims, manufacturers often ask for proof of maintenance when adjudicating a claim on springs or opener components. The log is your evidence.
A simple paper template
- Create a table with columns: Date, Task, Parts Replaced, Error Codes, Notes.
- Print it and tape it to the wall inside the garage near the opener.
- After every monthly check or technician visit, fill one line.
- Keep the sheets in a folder. You now have a complete service history.
We recommend this to every customer in Bellflower who has a newer opener with warranty coverage. It costs nothing and it makes warranty claims straightforward.
Common Mistakes to Avoid
- Lubricating the springs without knowing the spring type. Not every spring takes the same lubricant. Using the wrong product on a Raynor torsion spring or a Wayne Dalton torque tube can cause premature corrosion. And your hands should not be near the springs regardless.
- Ignoring the balance test because the door still opens. A door that falls when disconnected from the opener is already telling you the springs are weak. The opener is compensating, and it is burning itself out doing so.
- Adjusting the force settings higher to “fix” a binding door. Raising the force makes the opener push through the resistance instead of solving it. The underlying problem remains and worsens.
- Pressure-washing the door during a deep clean. High-pressure water forces its way into panel seams and into the opener housing. Use a garden hose and a soft brush instead.
- Skipping the photo-eye check because the door closes fine. A misaligned sensor can cause intermittent failures that worsen over time. The check takes 30 seconds.
- Waiting until a noise becomes loud before investigating. Loud is late. A new noise at any volume means a component is wearing. Note it and act on it.
- Using WD-40 on the rollers and hinges. WD-40 is a solvent and a water displacer, not a long-term lubricant. It strips existing lubricant and leaves the surface dry. Use a white lithium grease or silicone spray made for garage doors.
When to Call a Professional
Some situations are unambiguous: call a technician. If the door is off its tracks, call. If a cable is frayed or has snapped, call. If the door will not open or close at all, or if the opener behaves erratically such as stopping mid-cycle for no reason, call. If the auto-reverse fails during your monthly test, call. If the balance test fails at any height, call. And if you hear a loud bang from the garage, call rather than investigating: a broken spring under tension is one of the most dangerous components in a home. Colonial Garage Door Repair offers free estimates in Bellflower. Call (833) 598-2561 and we will diagnose the problem and set the price before any work starts.
Frequently Asked Questions
Twice a year is the right interval for most Bellflower homes. The spring and cable components should be checked by a technician every six months, and the opener drive system should be inspected at least once a year. Homeowners with chain-drive openers benefit from semi-annual lubrication, and the dry Santa Ana season in Bellflower makes track and roller cleaning a monthly task during the fall. Call (833) 598-2561 to schedule a free estimate.
Yes, for the monthly tasks: visual inspection, sensor cleaning, auto-reverse testing, and lubrication of rollers and hinges. No, for the spring, cable, and opener force adjustments. Those tasks require training and specific tools, and a mistake on a torsion spring can cause serious injury. Our recommendation: do the monthly checks yourself and have a technician handle the semi-annual service.
The balance test, in our experience. A door with weak springs still opens because the opener is doing the work. The opener wears out prematurely, and by the time the door finally stops opening, the homeowner is looking at replacing both the springs and the opener instead of just the springs. The test takes two minutes and should be done every month.
If the door drops quickly when disconnected from the opener during the balance test, the springs are losing tension. Other signs include visible gaps in a torsion spring’s coils, a door that feels unusually heavy to lift manually, or a door that slams shut when released. These symptoms mean replacement is needed soon. The work should only be done by a technician.
Fine dust from Santa Ana wind events settles into the tracks and roller bearings in Bellflower garages. That grit creates grinding and squeaking as the door moves. The fix is simple: clear the tracks with a dry cloth and lubricate the rollers. If the noise persists after cleaning, the roller bearings themselves may have worn and should be replaced.
No. The price we quote is the price you pay before work begins. Our estimates in Bellflower are free, and we set the full scope of the job and the cost in writing before a single part comes off the door. Call (833) 598-2561 to schedule an estimate.
The Bottom Line
A maintenance checklist only works if it tells you what to do and what order to do it in. The Bellflower-specific version has two tiers: monthly owner checks that take five minutes and catch developing noise and sensor issues, and semi-annual technician visits that catch spring, cable, and opener problems you cannot safely handle yourself. The balance test and force resistance test are the two highest-value checks on the list, and most homeowners skip them. Do those two, keep a simple log, and clean the tracks after Santa Ana wind events, and most breakdowns become predictable annoyances instead of expensive surprises. When something is beyond the checklist, call us at (833) 598-2561. We answer 24/7. Fast dispatch from 7am to 7pm, Sunday through Friday.
Written by the team at Colonial Garage Door Repair, serving Bellflower since 2013.
See the difference
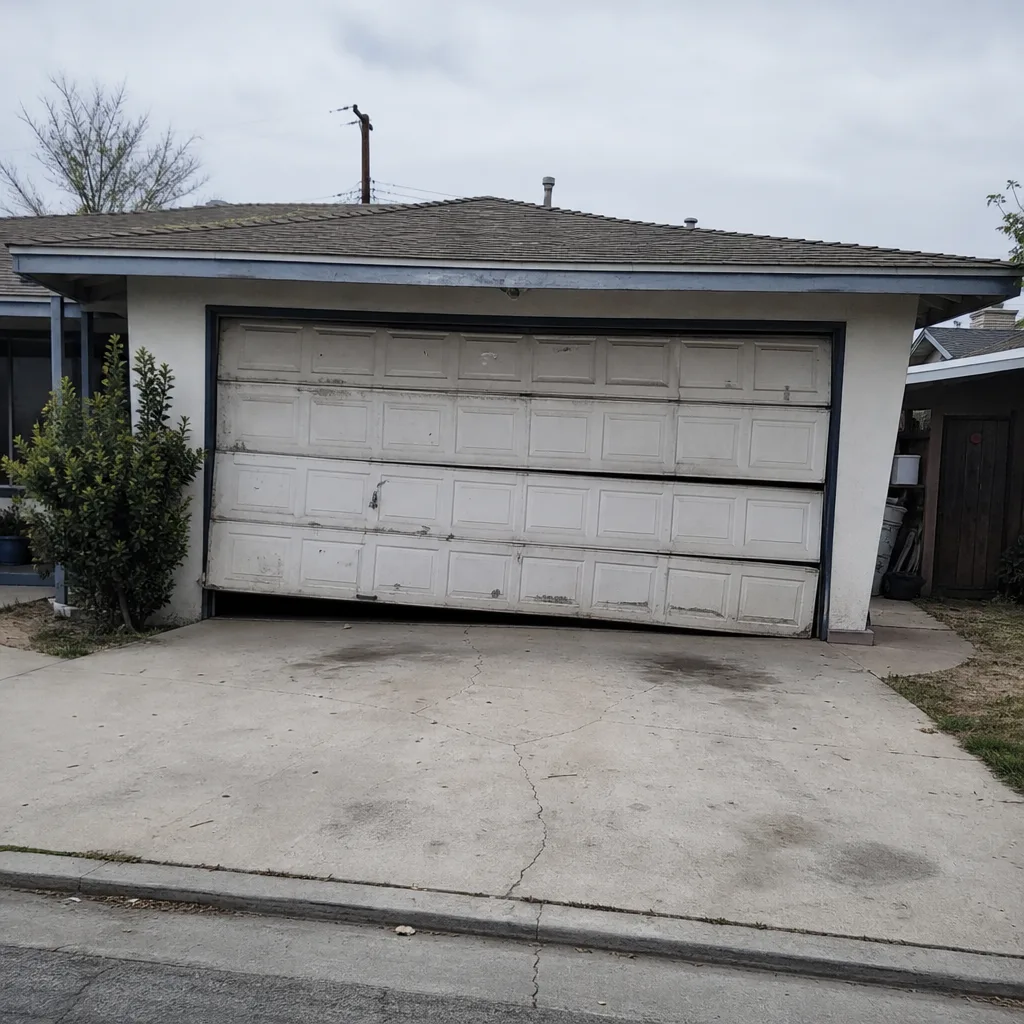 Before
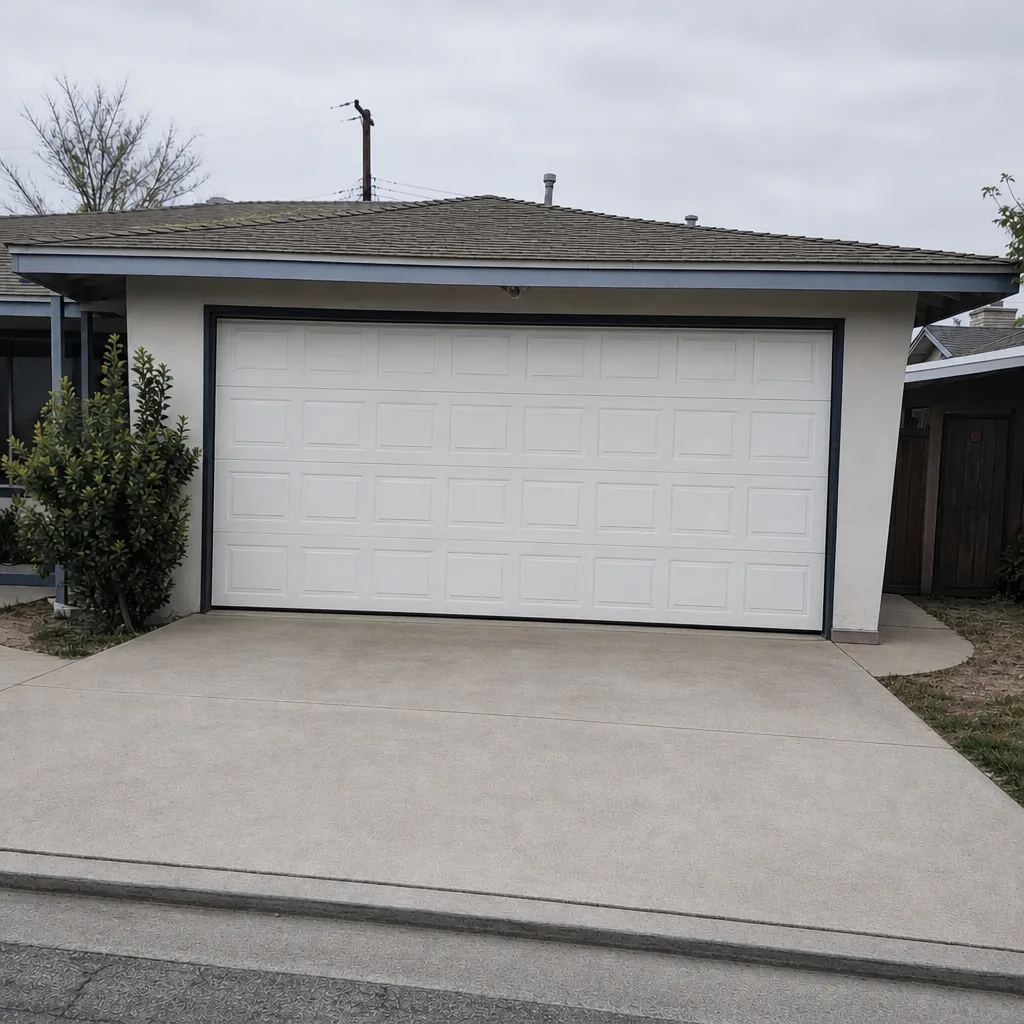 After
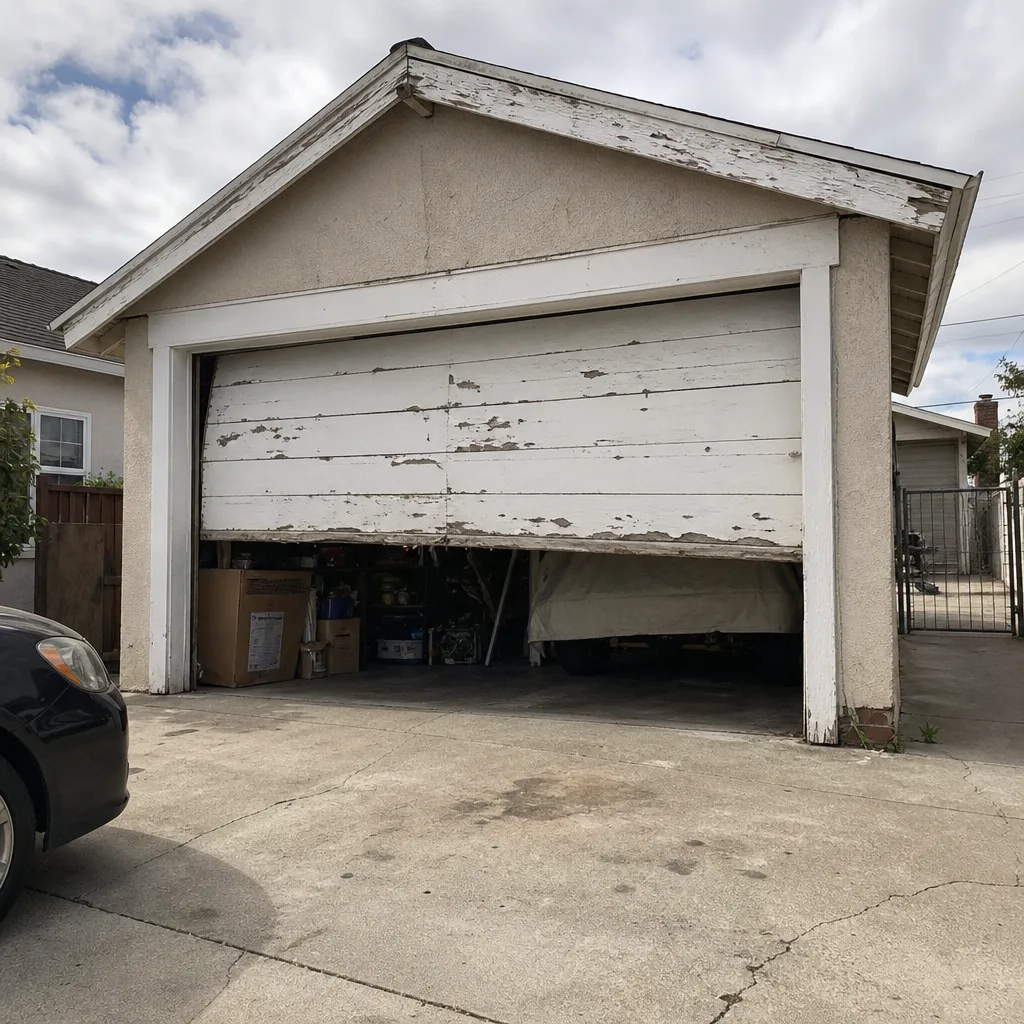 Before
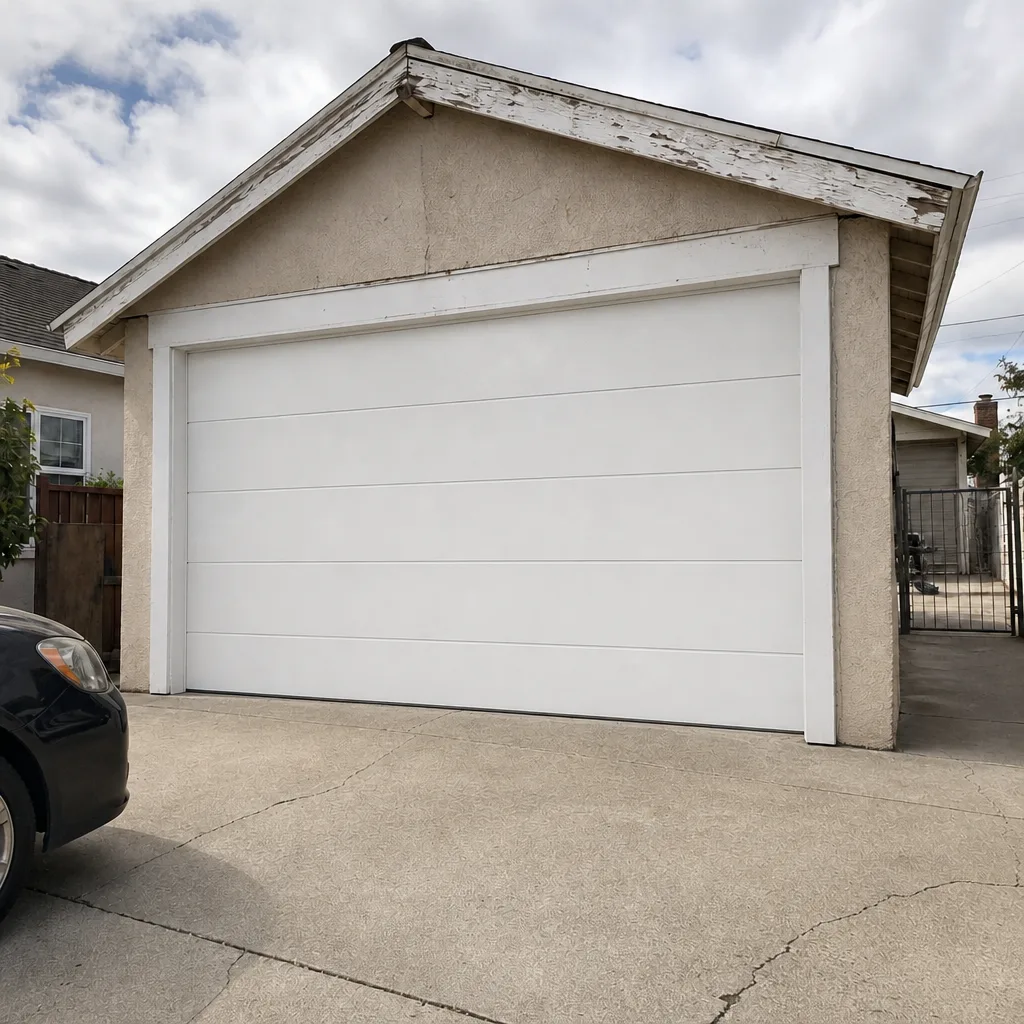 After
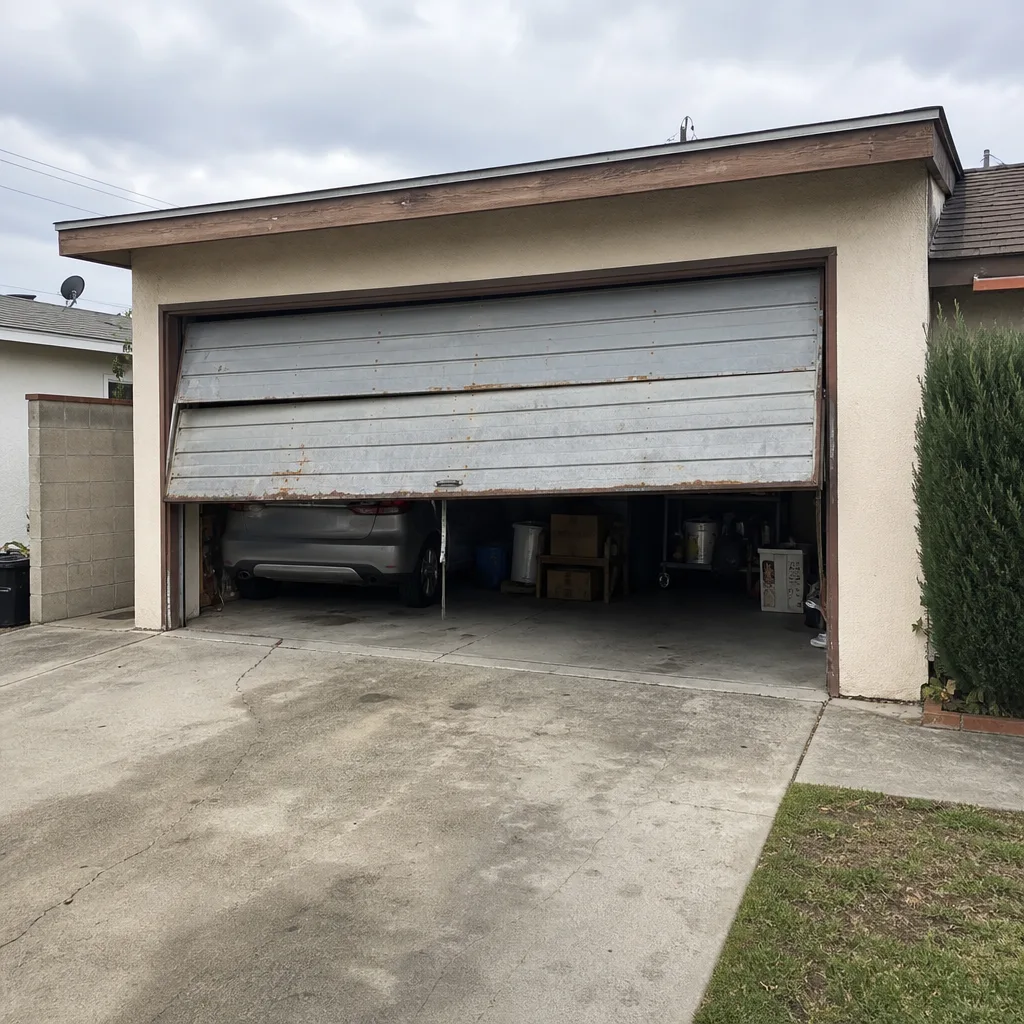 Before
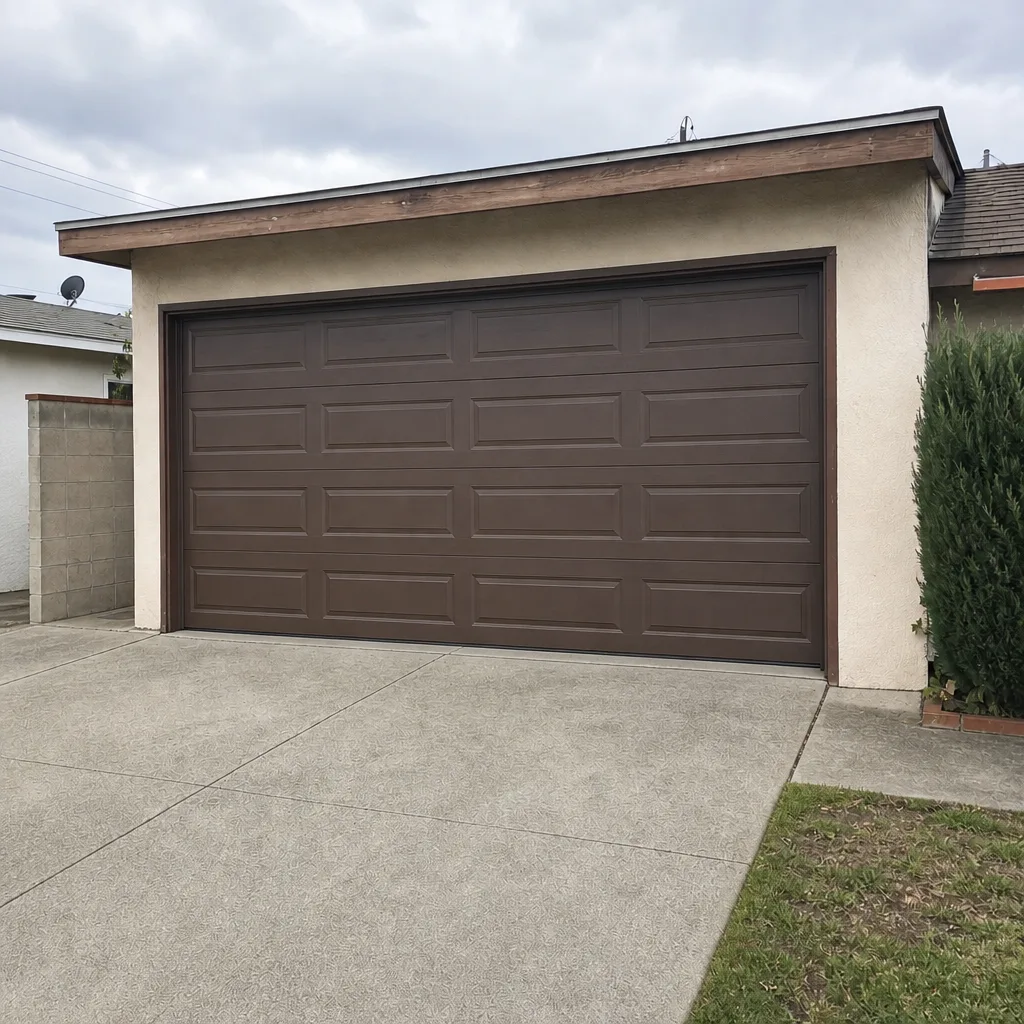 After